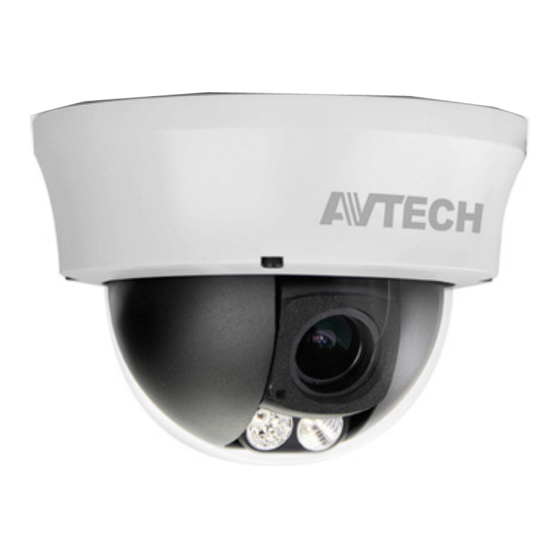
Avtech AVT532 Panduan Pengguna - Halaman 4
Jelajahi secara online atau unduh pdf Panduan Pengguna untuk Kamera Keamanan Avtech AVT532. Avtech AVT532 6 halaman. Hd cctv total solution, ir dome camera

INSTALLATION
Step 1: Uncover the dome camera by loosening the screws on the housing with the supplied wrench
(
).
Figure 1
Step 2: Check your desired viewing angle of the camera. According to the viewing angle and the instruction of
the installation sticker, paste the sticker up in an appropriate position on the wall or ceiling.
Step 3: Follow the instruction printed on the sticker as the
Step 4: Locate the three holes on the camera as
Figure 1
Step 5: Screw the camera in place and power up your camera
Step 6: Check the viewing angle on a CCTV test monitor.
Step 7: Adjust the viewing angle of the camera again, if necessary.
Step 8: Replace the dome cover in a proper position, adjust the transparent dome cover for not to cover the
lens, align the hole on the dome cover to in order not to have water leakage as Figure 3 and have the
three screws on it tightened.
NOTE: For clear images, please clear of fingerprints the inner part of the dome cover against the lens.
NOTE: n order not to affect waterproof, do not have the lines near the lens pressed while replacing
the transparent dome cover.
FOCAL LENGTH & FOCUS ADJUSTMENT
If you need to adjust the focus, the picture shows you where to adjust.
for adjusting focus
WIRE INDICATION FOR ALARM CONNECTION
COLOR
FUNCTION
Yellow
ALARM IN
Lens
for adjusting focal length
COLOR
Blue
to drill the three holes.
Figure 2
. They are where the three supplied screws belong.
Figure 3
Figure 2
FUNCTION
ALARM OUT
Figure 3
COLOR
FUNCTION
Black
GND
