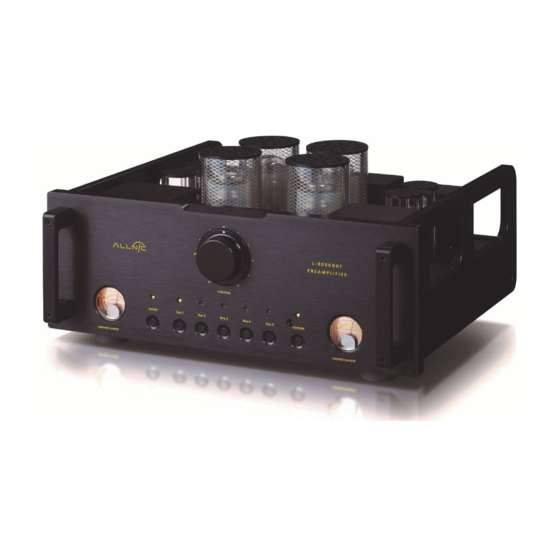
ALLNIC AUDIO L-8000 DHT Panduan Pemilik - Halaman 9
Jelajahi secara online atau unduh pdf Panduan Pemilik untuk Penguat ALLNIC AUDIO L-8000 DHT. ALLNIC AUDIO L-8000 DHT 16 halaman. Line-stage preamplifier

CLEANING
A.
Chassis and glass
Use only a soft, lint-free cloth dampened slightly with water only (NO cleaning fluids!) to clean
the faceplate, meter glass and chassis.
B.
Connectors
You may use any good quality contact cleaner recommended for such applications to clean the
contacts from time to time as you deem appropriate.
INITIAL SET-UP
A.
LOCATION, LOCATION, LOCATION
Like all audio products using tubes, the Allnic Audio L-8000 DHT needs to be placed on a solid
stand in a location that provides for good air circulation around the preamplifier.
DO NOT cover the top of the preamplifier.
•
DO NOT place the unit on carpet or foam.
•
•
DO NOT subject the unit to knocks and shocks as you move it around. This advice is
meant particularly for those who may want to place the L-8000 DHT on a set of after-
market isolation feet or similar devices. Dropping one side of the L-8000 DHT, or the
whole unit, is not a good thing.
DO NOT place the unit near a strong light or heat source.
•
•
DO NOT place anything heavy on the unit.
•
DO NOT allow rubber or vinyl materials to rest on the unit's chassis for long periods of
time. This could discolour the metal.
DO place the unit on a shelf or stand that is stable and not subject to vibration or
•
sudden shock.
DO consider using a high quality power cord and inter-connects, both inputs and
•
outputs. The L-8000 DHT is a highly sensitive piece of electronic equipment designed for
neutrality and will output what you put into it. Allnic's Zero Loss Technology cables will
work synergistically with the L-8000 DHT.
DO try to place the L-8000 DHT away from major sources of RFI and EMI; though well
•
shielded, the L-8000 DHT will function best away from large power transformers and
other sources of such interference.
B.
POWER CONNECTION
The L-8000 DHT uses a standard three prong male 15 amp IEC connection for AC input. You need
to use a power cord with a female three prong 15 amp IEC connector at one end.
To the left of the IEC connector (facing the left side of the unit as in Figure 1), there is a power
on-off switch. Leave this switch in the OFF position – that means the switch is pressed "down" at
the bottom - while you make all initial connections.
9
