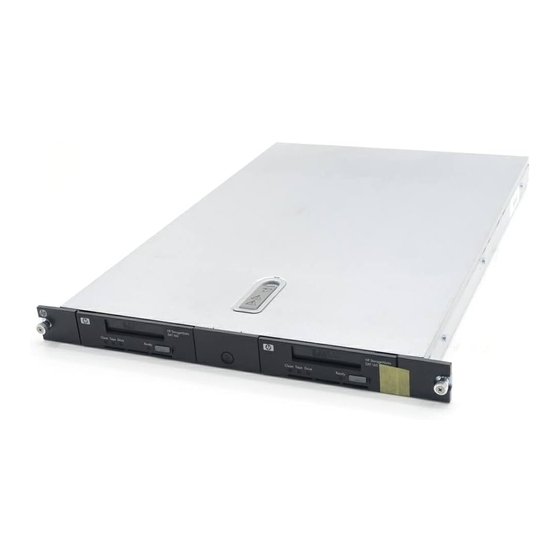
HP STORAGEWORKS ALL-IN-ONE STORAGE SYSTEM Petunjuk Instalasi
Jelajahi secara online atau unduh pdf Petunjuk Instalasi untuk Beralih HP STORAGEWORKS ALL-IN-ONE STORAGE SYSTEM. HP STORAGEWORKS ALL-IN-ONE STORAGE SYSTEM 2 halaman. 1u rackmount tape enclosure
Juga untuk HP STORAGEWORKS ALL-IN-ONE STORAGE SYSTEM: Petunjuk Instalasi (2 halaman), Panduan Petunjuk Instalasi (20 halaman), Panduan Instalasi (14 halaman), Catatan Rilis (14 halaman), Panduan Referensi (46 halaman)

hp StorageWorks
SDLT external tape drive
© Hewlett-Packard Company, 2002.
Hewlett-Packard Company makes no warranty of any kind with
regard to this material, including, but not limited to, the implied
warranties of merchantability and fitness for a particular purpose.
Hewlett-Packard shall not be liable for errors contained herein or for
incidental or consequential damages in connection with the
furnishing, performance, or use of this material.
This document contains proprietary information, which is protected
by copyright. No part of this document may be photocopied,
reproduced, or translated into another language without the prior
written consent of Hewlett-Packard. The information contained in this
document is subject to change without notice.
All other product names mentioned herein may be trademarks of their
respective companies.
Hewlett-Packard Company shall not be liable for technical or editorial
errors or omissions contained herein. The information is provided "as
is" without warranty of any kind and is subject to change without
notice. The warranties for Hewlett-Packard Company products are set
forth in the express limited warranty statements accompanying such
products. Nothing herein should be construed as constituting an
additional warranty.
SDLT External Tape Drive Installation Instructions
Third Edition (October 2002)
Part Number: 201414-003
installation
instructions
<<bar code goes here in
text box, if applicable>>
201414- 003
The HP SDLT tape drive requires a Wide-Ultra SCSI controller
or higher.
Step 1, Set the SCSI ID (Figure A)
A
6
Each SCSI device on the same SCSI bus must have a unique
SCSI ID. The default for HP tape drives is 6. If needed, change
the SCSI ID by pressing the button above or below the number
display on the back of the tape drive enclosure.
Note:
SCSI ID 7 is reserved for the SCSI controller, two SCSI
controllers have IDs 6 and 7.
Step 2, Connect the Cables (Figure B)
B
2
3
4
1. Turn off the computer and any peripherals.
2. Attach the SCSI signal cable 1 to the SCSI connector 2
located on the rear panel of the SDLT drive and then to the
external SCSI-2 port on the computer. Use the appropriate
SCSI cable for your computer SCSI connection. Two 6-ft
(1.8-m) cables are provided.
3. Attach the terminator (not shown) to the SCSI connector 3.
1
