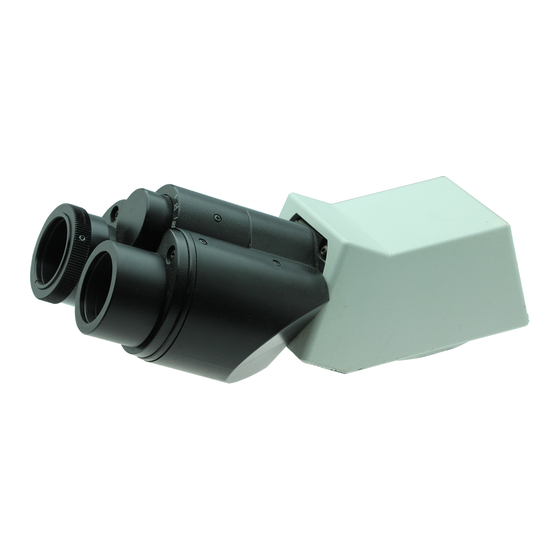
Olympus BXFMA-F Petunjuk Manual - Halaman 19
Jelajahi secara online atau unduh pdf Petunjuk Manual untuk Mikroskop Olympus BXFMA-F. Olympus BXFMA-F 36 halaman. Motorized illumination system with motorized focusing unit

@
²
Fig. 15
@
Fig. 16
Fig. 17
4
Using Eyepiece Micrometer Disks
Eyepiece micrometer disks can be inserted into the WHN10X-H (or
WHN10X) eyepieces.
However, if the eyepiece does not have the helicoid adjustment facility
and your eyesight is poor, you may have difficulties in focusing on the
eyepiece micrometer disk. In this case, it is recommended to look into
the eyepiece through your eyeglasses.
Use 24 mm dia. x 1.5 mm thick micrometer disks.
Following Fig. 15, unscrew the micrometer mounting frame 2 from the
eyepiece and place a micrometer disk 1 into the mounting frame. Reat-
tach the micrometer mounting frame in the original position.
5
Selecting the Light Path of Trinocular Observation Tube
Slide the light path selector knob 1 to select the desired light path.
Trinocular
Tube
Pushed in
U-TR30-2
Binocular 100%
U-SWTR-3
U-ETR-4
Binocular 100%
U-SWETR
U-SWETTR2
Binocular 100%
6
Adjusting the Tilt (with the U-TBI3/SWETTR-5)
}Adjust the height and tilt of the observation tube to obtain the most com-
fortable viewing position.
Holding the binocular section with both hands, raise or lower it to the
desired position.
# Never attempt to force the binocular section past the upper or lower
stop position. Applying excessive force could destroy the limiting
mechanism.
# The U-TBI3 cannot be used in combination with any intermediate
attachment.
Light Path Selector Position
Middle position
Binocular 20%
TV, photo 100%
TV, photo 80%
TV, photo 100%
Binocular 20%
TV, photo 80%
BXFMA
(Fig. 15)
(Fig. 16)
Pulled out
(Fig. 17)
15
