Olympus CH30 Petunjuk Manual - Halaman 7
Jelajahi secara online atau unduh pdf Petunjuk Manual untuk Mikroskop Olympus CH30. Olympus CH30 28 halaman. Biological microscope
Juga untuk Olympus CH30: Petunjuk Manual (29 halaman)
CH30/CH40
Я
Mounting
the Bulb (Replacement)
Fo.)
1 . Tum the microscope frame on its side and pull the lamp housing knob
on the underside of the base to open the lamp housing cover.
2 , Holding the halogen bulb @ contained in the polyethylene bag
to avoid
leaving fingerprints on the bulb, fully insert the contact pins into the
bulb socket @. When properly seated, pul off the polyethylene bag,
Applicable Bulb ))
(CH30: 6V, 20W Halogen bulb: GVZOW HAL (Philips 7388)
040: ϐν, 30W Halogen bulb: 6V30W HAL (Philips 5761)
À Always use the designated bulb. Use of improper bulb may
result in fire,
À Do not touch the bulb with bare hands. If fingerprints are
'accidentally left on the bulb, wipe the bulb with a sof, lint-free
cloth moistened with alcohol. Using a contaminated bulb will
shorten the service l i f e of the bulb.
3 . With the lamp housing knob stil pulled out, close the lamp housing
cover. Then push in the lamp housing knob to lock the cover
+ The lamp housing cover cannot
be closed if the knob is pushed
in before you attempt to close cover.
<
Proc
ns for
Bulb Replacement
'A Whenever you replace the bulb during use or right after use,
first move the main switch to "O" (OFF), disconnect the power
cord from the wall outlet, and allow the bulb and parts around
the bulb to cool before touching.
# If the bulb burns out during an observation and needs to be
replaced, remove eyapieces, specimen, and other objects likely
to fall off, before tilting the microscope framo to replace the
bulb.
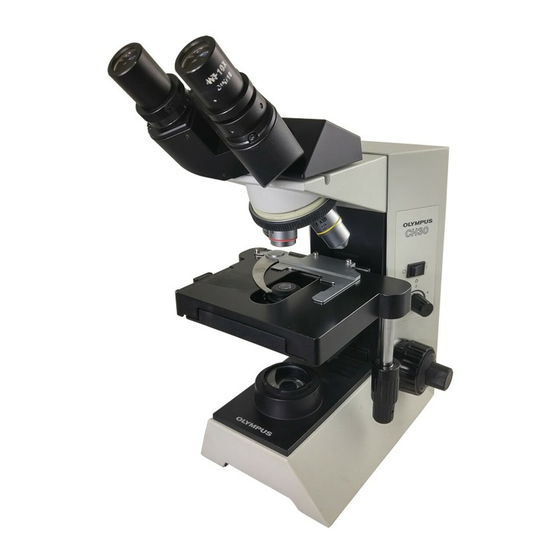
Mounting the Observation Tube
(Fig. 2)
1 . Using the provided Allen wrench, loosen the observation tube
clamping screw ©,
2 . Insert the circular dovetail mount at the bottom of the observation
|
tube into the opening on the microscope frame, positioning the
'observation tube to point the binocular eyopieces towards the front
'Clamp the observation tube by tightening the clamping screw ©.
Fig.2