Olympus MX61L Panduan Perakitan - Halaman 21
Jelajahi secara online atau unduh pdf Panduan Perakitan untuk Mikroskop Olympus MX61L. Olympus MX61L 49 halaman. 200mm/300mm compatible semiconductor/fpd inspection microscopes
³
Fig. 22
|
ƒ
Fig. 23
²
Fig. 24
@
Fig. 25
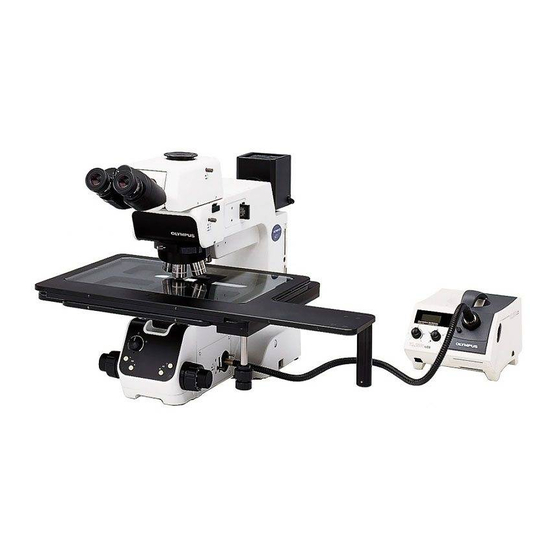
Setting Up the Power Supply Unit for Mercury Burner
CAUTION
@
!Cables and cords are vulnerable to bend or twist. Do not apply
excessive force to them.
²
!Make sure that the main switch is set to "
cords and cables.
!Always use the power cord provided by Olympus. If no power cord is
provided, please select the power cord by referring to the section "PROPER
SELECTION OF THE POWER SUPPLY CORD" at the end of this instruction
manual. If the proper power cord is not used, Olympus can no longer
warrant the electrical safety performance of the equipment.
1. Make sure that the voltage and frequency of the input power are within
the ranges indicated on the name plate @.
(100 V systems can be used with voltages in the 100 to 120 V range and
200 V systems can be used with voltage in the 220 to 240 V range, both
with frequencies of 50 to 60 Hz.)
2. Plug the connection cord to the connector ² on the power supply unit.
3. Attach the power cord to the power input connector ³ of the power
supply unit, and plug the power plug | of the power cord into the wall
power outlet ƒ.
!Always ensure that the grounding terminal is safety grounded/
earthed. If the equipment is not grounded/earthed, Olympus can no
longer warrant the electrical safety performance of the equipment.
Attaching the High-Intensity Light Source
@
³
10
Lamp Housing
1. Fit the MX-HGAD adapter @ all the way into the lamp housing mount
on the rear of the microscope arm, tighten the two clamping screws ²
using the Allen screwdriver.
2. Fit the mount section of the high-intensity lamp housing into the adapter,
confirm that the lamp housing is not tilted, and clamp the two clamping
screws ³ using the Allen screwdriver.
!When the high-intensity light source is used, the brightness becomes
too high during brightfield observation. Be sure to install the provided
ND filter (ND0.5*) in the brightfield observation light path.
* If the brightness after insertion of the ND0.5 filter is too low, use a different
ND filter (ND3 and ND6 filters available as options).
}The ND0.5 filter provided with the lamp housing can be mounted only by
the Olympus qualified personnel.
11
Connecting the Hand Switch (U-HSTR2)
!To prevent damage to the internal circuitry, always make sure that the
power cord is unplugged and the main switch is set to "
before connecting or disconnecting the hand switch.
Plug the hand switch connecting cable into the socket @ on the right
side of the microscope frame.
This operation should be performed after completing the
attachment of the lamp housing described in the next
section.
MX61/MX61L
" (OFF) before connecting
(Fig. 24)
(Fig. 25)
" (OFF)
18