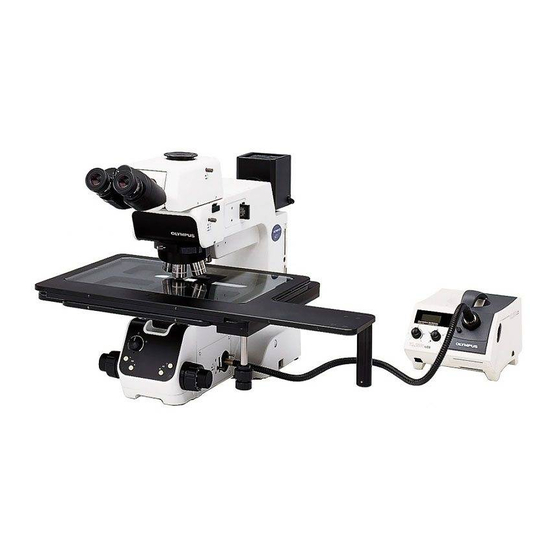
Olympus MX61L Panduan Perakitan - Halaman 19
Jelajahi secara online atau unduh pdf Panduan Perakitan untuk Mikroskop Olympus MX61L. Olympus MX61L 49 halaman. 200mm/300mm compatible semiconductor/fpd inspection microscopes
³
ƒ
Fig. 17
Fig. 18
³
Fig. 19
8
²
Attaching the Lamp Housing
1. Fit the lamp housing @ all the way into the lamp housing mount on the
rear of the microscope arm.
!Attach the lamp housing so that the heat radiating fins ² face upward.
@
To prevent a fire hazard, reserve ample spaces above, below and on
|
the rear of the lamp housing.
2. After fitting the lamp housing @, tighten the two clamping screws ³
using the Allen screwdriver provided with the microscope.
# Do not tighten the screws too much, as this may deform the lamp
housing mount.
3. Connect the connector | of the lamp housing to the connector ƒ on
the rear of the arm.
9
Attaching the Mercury Burner
}For the xenon burner, attach the burner, reset the hour counter and
connect the cables as described in the manual provided with the light
source in use.
1. Loosen the socket clamping screw @ using the Allen screwdriver.
2. Hold the upper section of the lamp housing and pull it upward to remove
@
the socket section.
# To prevent malfunction, do not hold the lamp housing by the
centering knobs ².
3. Place the socket section upside down as shown in Fig. 19.
²
}The lamp housing is equipped with the holder for transportation in the
factory shipment condition or with an old burner when the burner is
replaced. Remove the holder or old burner by loosening the two burner
holding screws ³.
4. Attach the + (positive) pole of a specified mercury burner | to the fixed
mount on the upper side, then the - (negative) pole to the mount on the
lower side.
# Be sure to use the USH-103OL (USHIO) or the HBO103W/2 (OSRAM)
mercury burner.
# Be careful and avoid leaving fingerprints or contaminants on the mercury
burner. Otherwise, there is a danger of explosion due to distortion of
|
glass caused by the stains. If the burner is contaminated, clean it by
wiping gently with gauze slightly moistened with absolute alcohol.
5. Attach the socket section with burner to the original position and tighten
the socket clamping screw @.
# Align the external edges of the lamp housing with those on the
socket section, and push the lamp housing straight downward.
!Attach the lamp housing so that the heat radiating fins face upward.
To prevent a fire hazard, reserve ample spaces above, below and on
the rear of the lamp housing.
!Do not light the mercury burner while it is not mounted on the
microscope because the UV rays in its light are harmful to your
eyes.
# The UV rays in the light of the mercury burner may damage the
specimen if this is sensitive to UV rays.
MX61/MX61L
(Fig. 17)
(Figs. 18 to 23)
16