Olympus U-RFL-T Petunjuk Manual - Halaman 9
Jelajahi secara online atau unduh pdf Petunjuk Manual untuk Mikroskop Olympus U-RFL-T. Olympus U-RFL-T 16 halaman.
Juga untuk Olympus U-RFL-T: Petunjuk Manual (36 halaman), Buku Petunjuk (16 halaman)

PREPARATION
3-1 Turning the Burner ON
²
@
Fig. 4
3-2 Centering the Burner
For centering of the burner, refer to the description on the burner centration in the instruction manual provided with the
microscope in use or an accessory module.
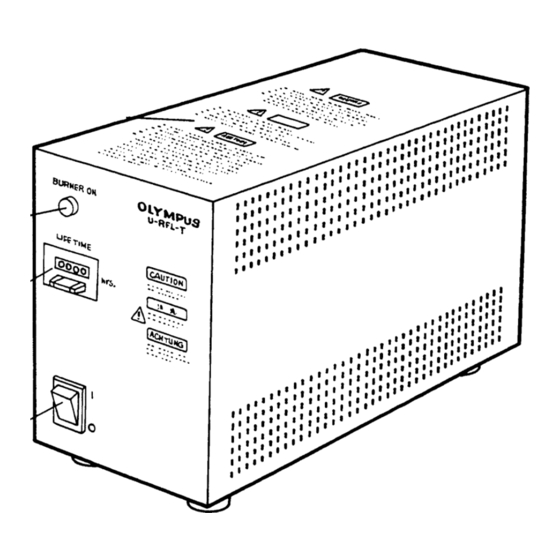
1. Set the main switch @ of the power supply to " I " (ON).
2. The burner is ignited automatically by the auto ignition mechanism.
If the mercury burner is not ignited even though passing 30 seconds or
more after the main switch @ of the power supply unit is set to " I " (ON),
set the main switch @ to "
and set the main switch @ to " I " (ON) again.
3. The lamp on LED ² lights up when the burner is ignited.
4. After ignition, the arc image of mercury burner stabilized in 5 to 10 minutes
and that of xenon burner stabilizes in 3 to 5 minutes.
CAUTION
The mercury burner cannot be re-ignited immediately after extinction.
After turning it off, wait for about 10 minutes, until the mercury vapor
inside it cools down and liquefies.
U-RFL-T/U-RX-T
" (OFF) once, and wait 10 seconds or more
6
