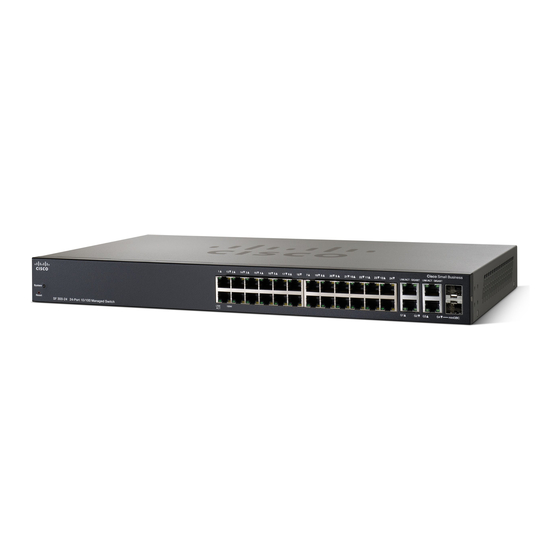
Cisco 300 Series Panduan Memulai Cepat - Halaman 2
Jelajahi secara online atau unduh pdf Panduan Memulai Cepat untuk Beralih Cisco 300 Series. Cisco 300 Series 18 halaman. Managed switches
Juga untuk Cisco 300 Series: Lembar data (14 halaman), Panduan Memulai Cepat (17 halaman), Panduan Memulai Cepat (17 halaman)

- 1. Quick Start Guide
- 2. Mounting the Cisco Switch
- 3. Rack-Mount Placement
- 4. Wall Mounting
- 5. Connecting Network Devices
- 6. Power over Ethernet (Poe) Considerations
- 7. Troubleshoot Your Connection
- 8. Front Panel Ports
- 9. Reset Button
- 10. Back Panel
- 11. Front Panel Leds
- 12. Returning the Device to the Factory Default Settings
- 13. Where to Go from here
Welcome
Thank you for choosing the Cisco 300 Series Managed Switch, a Cisco
network communications device. This device is designed to be
operational right out of the box as a standard bridge. In the default
configuration, it will forward packets between connecting devices after
power up.
Before you begin installing the switch, make sure you have all of the
package contents available, access to the Cisco 300 Series Managed
Switch Administration Guide, and a PC with a web browser for using
web-based system management tools.
Package Contents
• Cisco 300 Series Managed Switch
• Rackmount Kit
• Wallmount Kit (only for the 8-port devices)
• Power Cord (power adapter included with 8-port devices)
• This Quick Start Guide
• Product CD
• Serial Cable
• Rubber Feet
This guide will familiarize you with the layout of the managed switch and
describe how to deploy the device in your network. For additional
information, see www.cisco.com/go/300switches.
Mounting the Cisco Switch
1
There are three ways to physically install the switch:
• Set the switch on a flat surface.
• Mount the switch on a wall (8-port devices only).
• Mount the switch in a standard rack (1 rack unit high).
2
Cisco 300 Series Managed Switches
