Cisco 7965 Panduan Memulai Cepat - Halaman 3

Jelajahi secara online atau unduh pdf Panduan Memulai Cepat untuk Telepon IP Cisco 7965. Cisco 7965 3 halaman. Ip phone and voice mail
Juga untuk Cisco 7965: Panduan Pengguna (6 halaman), Panduan Pengguna (4 halaman), Panduan Referensi Cepat (3 halaman), Panduan Referensi Cepat (8 halaman), Panduan Pengguna (6 halaman), Panduan Pengguna (2 halaman), Panduan Pelatihan Pengguna (2 halaman), Panduan Referensi Cepat (2 halaman), Panduan Pengguna (6 halaman), Panduan Referensi Cepat (4 halaman), Panduan Memulai Cepat (30 halaman), Panduan Pelatihan Pengguna (42 halaman), Panduan Referensi Cepat (3 halaman), Panduan Referensi (4 halaman), Panduan Pengguna (2 halaman), Panduan Referensi Cepat (2 halaman), Panduan Referensi Cepat (2 halaman), Panduan Memulai Cepat (2 halaman), Memulai (2 halaman)
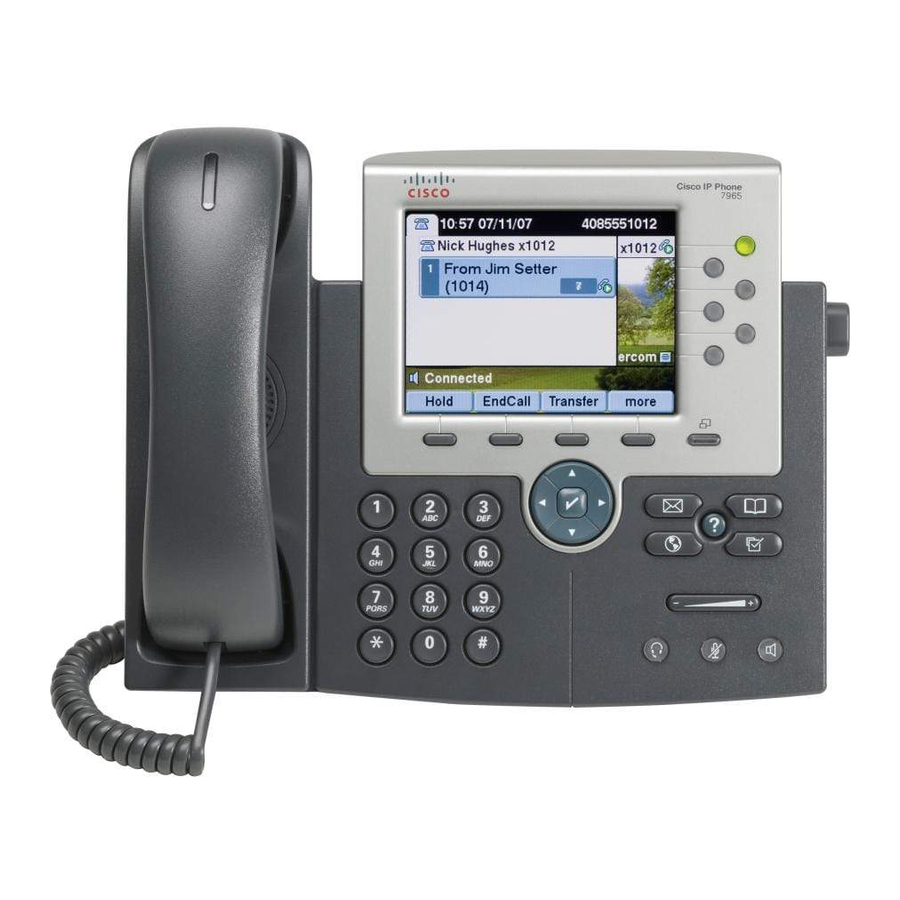
Cisco 7965 Panduan Memulai Cepat
Quick Start Guide for Cisco 7965 IP Phone
Unity Voice Mail – Setup & Basic Voice Mail Functions
Voice Mail – Initial Setup
Press the "Messages" button to access your voicemail box. You will be asked to initialize your mailbox the
first time you access voice mail. Initialization includes recording your name, recording a greeting, and
changing your password.
Your temporary password is 6xxxx . The 'x' represents your extension. Your new password must be at least
3 digits in length.
NOTE: Be sure to press "#" after every entry for which the system prompts you.
Basic Voice Mail Use
Access from desk phone
Access when away from the
office:
While listening to a message:
After a message:
Setup Options
To re-record greeting:
To rerecord name:
To change password:
University of Vermont Telecommunications
& Network Services
Standard Phone User Guide
1. Press MESSAGES button.
2. Enter your password followed by the # key when prompted.
3. Press 1 to listen to new messages, 2 to send a message, 3 to review old
messages, or 4 to access SETUP options.
1. Dial the voicemail number - 802-656-9940.
2. When voice mail answers, press * key.
3. Enter your 5-digit mailbox I.D. number (i.e., your "Extension Number")
followed by the # key.
4. Enter your password followed by the # key.
1 - repeat
2 - save
3 - delete
4 - slower
5 - change volume
1 - repeat
2 - save
3 - delete
4 - reply to internal user
1. Enter mailbox
2. Press 4 - Setup options, then 1 - for Greetings, then 1 - change greetings
3. Follow prompts
1. Enter mailbox
2. Press 4 - Setup options, then 3 - personal settings, then 2 - change name
3. Follow prompts
1. Enter mailbox
2. Press 4 - Setup options, then 3 - Personal settings, then 1 - change password
3. Follow prompts
6 - faster
7 - skip back
8 - pause
9 - fast-forward
# - jump to end of message
5 - forward message
6 - mark as new
7 - skip back
9 - hear date/timestamp
rev 20160822