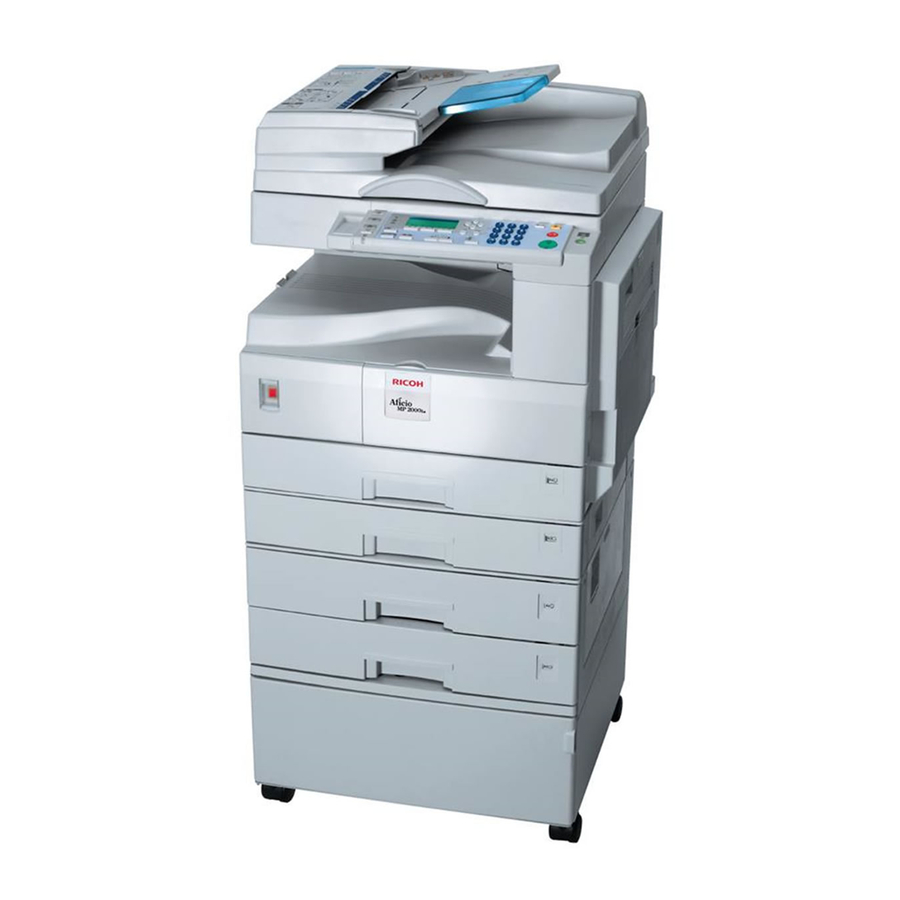
Ricoh Aficio MP 2000L Manual Jaringan - Halaman 21
Jelajahi secara online atau unduh pdf Manual Jaringan untuk Mesin fotokopi Ricoh Aficio MP 2000L. Ricoh Aficio MP 2000L 34 halaman. Network guide
Juga untuk Ricoh Aficio MP 2000L: Lembar Spesifikasi (2 halaman)

Configuring the port settings
A
In the [Printers] window, click the
icon of the printer you want to
use. On the [File] menu, click
[Properties].
B
Click the [Details] tab, and then
click [Port Settings...].
The TCP/IP Port Type P10001
Configuration dialog box appears.
• You can select either Raw or
LPR port to print.
• You can change the IP address
of the Port.
Note
❒ If the IP address of the ma-
chine is changed, you must
change the port settings also.
• Both Raw and LPR support
SNMP.
Important
❒ Do not change Port Number,
Timeout, and Queue Name.
Using Standard TCP/IP Port
This describes how to change the port
settings under Windows 2000 when a
printer driver has been installed.
A
In the [Printers] window, click the
icon of the printer you want to
use. On the [File] menu, click
[Properties].
B
Click the [Ports] tab, and then
click [Add Port].
C
Click [Standard TCP/IP], and then
click [New Port].
D
In the [Add Standard TCP/IP Printer
Port Wizard] dialog box, click [Next].
Printing without a Print Server
E
In the [Printer Name or IP Address]
box, enter the printer name or IP
address, and then click [Next].
F
In the [Add Standard TCP/IP Printer
Port Wizard] dialog box, click [Fin-
ish].
G
Click [OK].
H
Check the location for the select-
ed printer, and click [Close].
Using LPR Port
This describes how to change the port
settings under Windows 2000 when a
printer driver has been installed.
A
In the [Printers] window, click the
icon of the printer you want to
use. On the [File] menu, click
[Properties].
B
Click the [Ports] tab, and then
click [Add Port].
C
Click [LPR Port], and then click
[New Port].
D
In the [Name or address of server pro-
viding lpd] box, enter the printer's
IP address.
E
In the [Name of printer or print queue
on that server] box, enter "lp", and
then click [OK].
F
Click [OK].
G
Check the location for the select-
ed printer, and click [Close].
5
15
