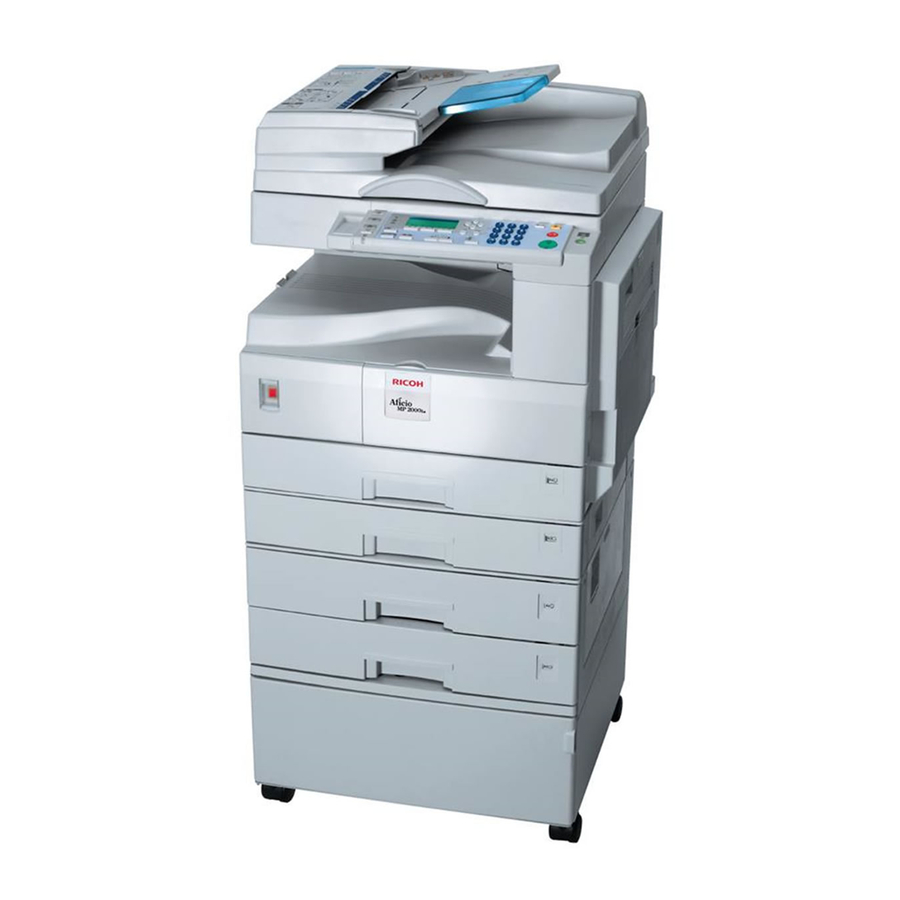
Ricoh Aficio MP 2000L 네트워크 매뉴얼 - 페이지 21
{카테고리_이름} Ricoh Aficio MP 2000L에 대한 네트워크 매뉴얼을 온라인으로 검색하거나 PDF를 다운로드하세요. Ricoh Aficio MP 2000L 34 페이지. Network guide
Ricoh Aficio MP 2000L에 대해서도 마찬가지입니다: 사양 시트 (2 페이지)

Configuring the port settings
A
In the [Printers] window, click the
icon of the printer you want to
use. On the [File] menu, click
[Properties].
B
Click the [Details] tab, and then
click [Port Settings...].
The TCP/IP Port Type P10001
Configuration dialog box appears.
• You can select either Raw or
LPR port to print.
• You can change the IP address
of the Port.
Note
❒ If the IP address of the ma-
chine is changed, you must
change the port settings also.
• Both Raw and LPR support
SNMP.
Important
❒ Do not change Port Number,
Timeout, and Queue Name.
Using Standard TCP/IP Port
This describes how to change the port
settings under Windows 2000 when a
printer driver has been installed.
A
In the [Printers] window, click the
icon of the printer you want to
use. On the [File] menu, click
[Properties].
B
Click the [Ports] tab, and then
click [Add Port].
C
Click [Standard TCP/IP], and then
click [New Port].
D
In the [Add Standard TCP/IP Printer
Port Wizard] dialog box, click [Next].
Printing without a Print Server
E
In the [Printer Name or IP Address]
box, enter the printer name or IP
address, and then click [Next].
F
In the [Add Standard TCP/IP Printer
Port Wizard] dialog box, click [Fin-
ish].
G
Click [OK].
H
Check the location for the select-
ed printer, and click [Close].
Using LPR Port
This describes how to change the port
settings under Windows 2000 when a
printer driver has been installed.
A
In the [Printers] window, click the
icon of the printer you want to
use. On the [File] menu, click
[Properties].
B
Click the [Ports] tab, and then
click [Add Port].
C
Click [LPR Port], and then click
[New Port].
D
In the [Name or address of server pro-
viding lpd] box, enter the printer's
IP address.
E
In the [Name of printer or print queue
on that server] box, enter "lp", and
then click [OK].
F
Click [OK].
G
Check the location for the select-
ed printer, and click [Close].
5
15
