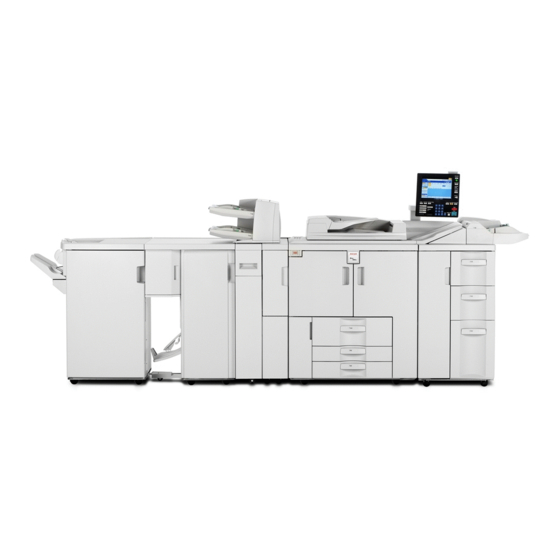
Ricoh B832 Panduan Servis - Halaman 18
Jelajahi secara online atau unduh pdf Panduan Servis untuk Aksesori Printer Ricoh B832. Ricoh B832 37 halaman.

10 March 2006
1.9 ADJUSTING IMAGE POSITION SENSOR STRENGTH
AND SIDE-TO-SIDE REGISTRATION
1. Turn off the main power switch.
2. Disconnect the LCT from the mainframe.
3. With the LCT [A] separated from the
mainframe, reconnect the LCT cable to
the mainframe.
4. Turn on the main power switch.
5. Insert one sheet of plain white paper
[B] in the paper path.
6. Make sure that the paper covers the
entire area below the image position
sensor (CIS) [C].
7. Enter the SP mode and do SP1910
002 (CIS Image Position Adjustment:
LED Strength - LCT). This calibrates
the amount of light to be emitted from
the CIS.
8. Do SP1909 002 (CIS Image Position Adjustment: PWM After Adjustment -
LCT).
• If the displayed value is between 20 (14h) and 40 (28h), the CIS is
calibrated successfully. (The display is in hexadecimal code.)
• If the value is outside this range, do SP 1910 002 and 1909 002 again. If the
value does not come between 20 and 40, the CIS may be defective.
9. Exit the SP mode.
10. Reinstall the LCT to the side of the copier.
11. Push [User Tools]> [Adjust Settings for Operators].
12. Do SP1911 for Trays 4, 5, 6, 7 and set the value for each tray to "0" (OFF).
13. Exit from SP 1911 and return to the SP mode menu.
REPLACEMENT AND ADJUSTMENT
[B]
[C]
B832-15
[A]
B832R931.WMF
