Cisco 2100 Series Panduan Memulai Cepat - Halaman 5
Jelajahi secara online atau unduh pdf Panduan Memulai Cepat untuk Perangkat Keras Jaringan Cisco 2100 Series. Cisco 2100 Series 12 halaman. Cisco 8500 series
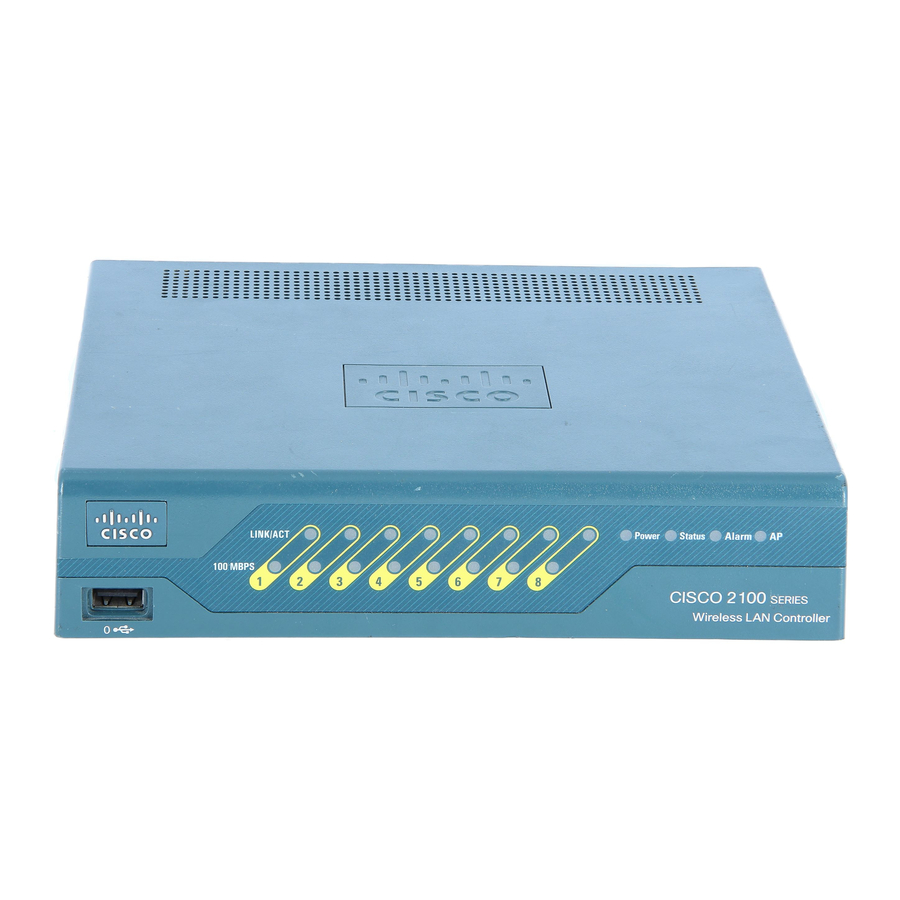
wireless lan controller
Juga untuk Cisco 2100 Series: Panduan Konfigurasi (40 halaman), Panduan Memulai Cepat (49 halaman), Panduan Konfigurasi (50 halaman)

Rack Mount the Hardware
LIN K
10 0M bp
s LIN
CO NS
ET HE RN
ET 0
ET HE RN
Installing Rack Mount
Hardware
This section describes how to install the
IE2100 Series in a standard 19-inch equipment rack.
A rack-mount kit is included for mounting the
system in a standard 19-inch equipment rack with
two unobstructed outer posts.
Note
You can place the system on a desktop or other
flat, stable surface. Self-adhesive rubber feet are
provided for this purpose.
Warning
The following guidelines are
provided to ensure your safety:
•
This unit should be mounted at the bottom of
the rack if it is the only unit in the rack.
•
When mounting this unit in a partially filled
rack, load the rack from the bottom to the top
with the heaviest component at the bottom of
the rack.
•
If the rack is provided with stabilizing devices,
install the stabilizers before mounting or
servicing the unit in the rack.
K 10 0M
bp s
DR IVE
0
DR IVE
ET 1
1
Phillips machine
screws
To install the IE2100 Series in a rack:
Step 1
Measure the rack to verify that the system
will fit.
Step 2
Attach the L brackets to the sides of the
chassis using the provided screws so that
the L-bracket mounting surfaces are even
with the front or back panel of the chassis,
depending on which way you want to
install it.
Step 3
Position the chassis in the rack.
Step 4
Align the four mounting holes in the
L bracket with the four mounting holes in
the equipment rack.
Step 5
Secure the system in the rack by installing
the provided screws through the elongated
holes in the L bracket and into the
threaded holes in the mounting post.
3
