Cisco ASA 5506-X Panduan Instalasi - Halaman 33

Jelajahi secara online atau unduh pdf Panduan Instalasi untuk Perangkat Keras Jaringan Cisco ASA 5506-X. Cisco ASA 5506-X 46 halaman. Threat defense reimage guide
Juga untuk Cisco ASA 5506-X: Panduan Memulai Cepat (10 halaman), Panduan Memulai Cepat (14 halaman), Panduan Penyiapan yang Mudah (11 halaman), Manual Perangkat Lunak (37 halaman), Pasang dan Hubungkan (12 halaman), Memasang Sasis (10 halaman), Panduan Pemasangan Perangkat Keras (26 halaman)
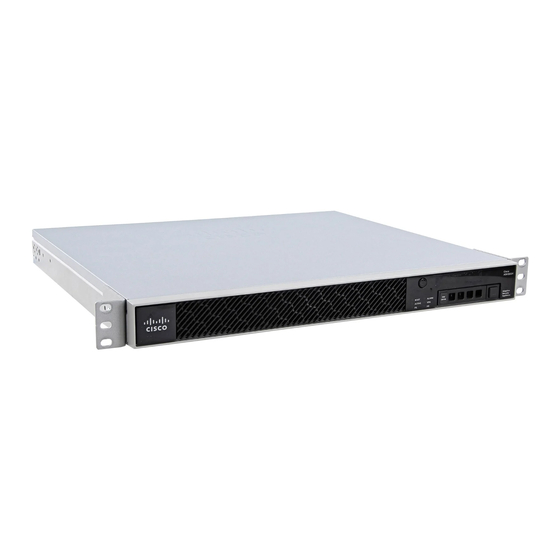
Cisco ASA 5506-X Panduan Instalasi
Mount the Chassis
You can only mount the chassis with the front panel oriented toward either the ceiling or the floor. Wall mounting in
other orientation is not supported.
What to do next
Install the cables as described in

Rack-Mount the Chassis

Follow these steps to mount the chassis in a rack-mount shelf.
Note
You mount only one ASA 5506H-X in the rack-mount shelf.
The dimensions of the ASA 5506H-X are 3.46 x 18.3 x 19.5 in. (8.79 x 46.48 x 49.52 cm). The PID is
asa5506h-rack-mnt=.
Step 1
Place the chassis upside down on a large, stable work area. If you are installing two chassis in the shelf, place the second
chassis beside the first, also upside down.
Step 2
Invert the sliding trays and position the chassis on top of them such that the front of the device(s) and the front of the tray
are in the same direction.
Step 3
Adjust the position of the first chassis and the tray until the three mounting holes in the dimples in the bottom of the shelf
are aligned with the mounting holes in the bottom of the chassis.
Step 4
Tighten the captive tray screws into the shelf to lock it into place.
Figure 23: ASA 5506-X and ASA 5506W-X in the Rack-Mount Shelf
Online Only
Quick Start Guide
for your default software configuration.
Cisco ASA 5506-X, ASA 5506W-X, and ASA 5506H-X Hardware Installation Guide
Rack-Mount the Chassis
29