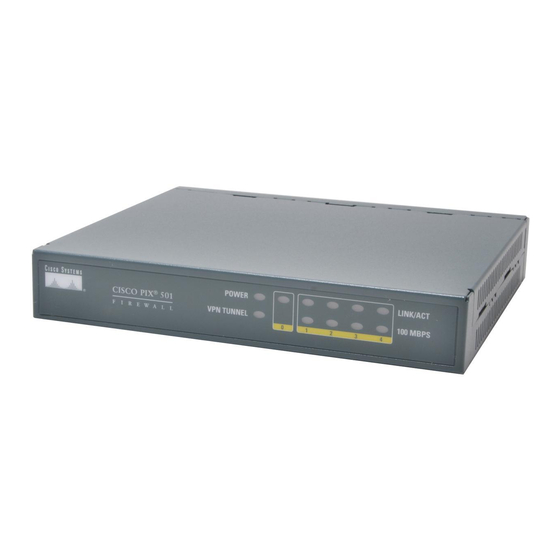
Cisco PIX 501 Panduan Memulai Cepat - Halaman 8
Jelajahi secara online atau unduh pdf Panduan Memulai Cepat untuk Perangkat Keras Jaringan Cisco PIX 501. Cisco PIX 501 18 halaman. Data sheet
Juga untuk Cisco PIX 501: Panduan Memulai Cepat (20 halaman), Lembar data (8 halaman), Panduan Memulai Cepat (21 halaman), Panduan Memulai Cepat (20 halaman)

6
(Optional) Configuration Changes
The PIX 501 is manufactured with a default configuration that meets the needs of most broadband
networking environments. The default configuration enables a DHCP client on the outside interface
and a DHCP server with a predefined IP address pool on the inside interface. For most users,
additional configuration of the PIX 501 is not necessary.
There are only a few instances when it might be necessary to change the default configuration:
• To create administrative and Telnet passwords
• To configure a static IP address for an outside interface
• To upgrade to a DES or 3DES encryption software license
• To upgrade the user license from 10 to 50 users
• To restore the default configuration
Administrative Access
There are three ways to modify the default configuration:
• PDM—Use a web browser to run PDM.
• Console—Use a serial terminal emulator from a PC or workstation connected to the Console port
for local administrative access.
• Telnet—Use PDM or a console to configure Telnet access to the PIX 501. By default, Telnet access
is not permitted. To Telnet to the PIX 501 from the outside perimeter of the firewall, configure an
outside IP address and IPSec for a secure Telnet session. For more information, refer to the
Cisco PIX Firewall and VPN Configuration Guide.
8
