Aeotec Door / Window Sensor 7 Panduan Pengguna - Halaman 3
Jelajahi secara online atau unduh pdf Panduan Pengguna untuk Aksesori Aeotec Door / Window Sensor 7. Aeotec Door / Window Sensor 7 10 halaman.
Juga untuk Aeotec Door / Window Sensor 7: Panduan Pengguna (9 halaman), Panduan Memulai Cepat (11 halaman), Panduan Pengguna (9 halaman)

31/07/2019
Open the cover by pressing the clip on the side and pulling the cover upwards.
Insert a fresh 1 * 1/2 AA battery, but pay attention to the polarity
Install your Door / Window Sensor 7.
The sensor can be mounted either on the moving part or on the fixed part of a door or a window. Mounting can be
accomplished either using the tape by peeling off the protection foil or using two screws with the holes inside the battery
compartment. If the tilt detection on a window (only normal windows, no roof windows) shall be used the sensor device
must be placed on the moving part of the window and the magnet on the window frame. The sensor comes with two types
of magnets:
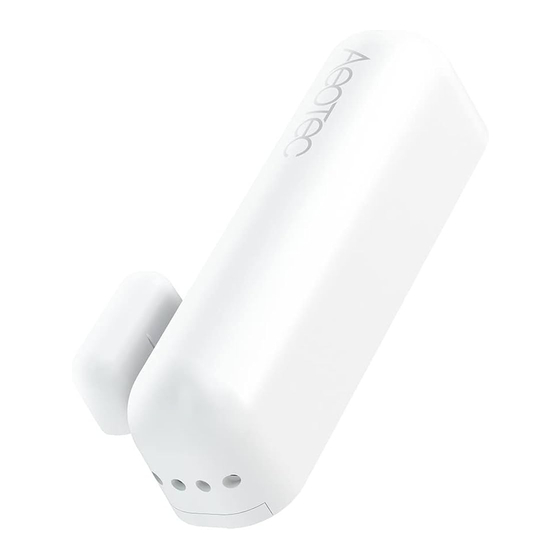
The standard magnet covered by plastic part, mountable beside the sensor. Make sure the two indicating lines on
sensor enclosure and magnet are opposite to each other. The image on the right-hand-side shows the position of
magnet and sensor body.
A slim "naked" magnet to be mounted behind the sensor in case the sensor body is placed on the side of a window.
To use the tilting function, the opening angle of the window must be at least 5° or greater.
https://aeotec.freshdesk.com/support/solutions/articles/6000218764-door-windows-sensor-7-user-guide
Door / Window 7 user guide : Aeotec Group
3/10
