Whirlpool AKTT600/IX Informasi Kesehatan & Keselamatan, Penggunaan & Perawatan, Panduan Pemasangan, dan Informasi Pendaftaran Garansi Online - Halaman 6
Jelajahi secara online atau unduh pdf Informasi Kesehatan & Keselamatan, Penggunaan & Perawatan, Panduan Pemasangan, dan Informasi Pendaftaran Garansi Online untuk Kap Ventilasi Whirlpool AKTT600/IX. Whirlpool AKTT600/IX 22 halaman.
1. Cut out an opening in the bottom of the cabinet by
following the dimensions in Fig. 1
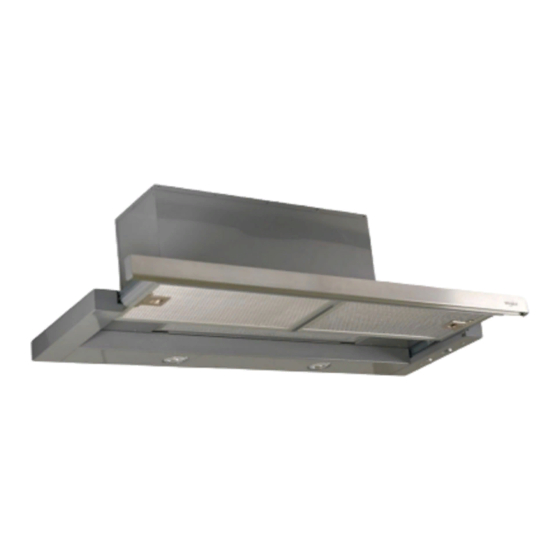
3. Use (2) M4 x 8 screws to install the plastic collar.
4. Lift the hood into opening and ensure locking clip has
locked into position. (locking clip is located on left side
of hood body.) see Fig 2
5. 600mm Model only. Secure upper brackets to left and
right sides of the hood body by using (4) 3/16 x 5/8"
screws . Make sure the (2) captive nut screws holes on the
bracket are facing downward. Fig. 3
6. 600mm Model only. Place lower installation brackets
under upper installation brackets located on left and
right sides of hood body. Note: The wider portion of the
lower installation bracket should be at the bottom.
7. 600mm Model only. Install (4) 3/16x40 screws into
the captive nuts of upper installation brackets.
Tighten is no gap between the cabinet and front edge of
the hood. Fig. 4
8. 900mm Models only. Secure hood body to cabinet
base by (8) #6 x 1" wooden screws through the bottom of
range hood.Fig. 5
M
M
ounting
ounting
this appliance must be connected with earth wire.
this appliance must be connected with earth wire.
Supply cord must be disconnected from power source before connection (to
Supply cord must be disconnected from power source before connection (to
the appliance).
the appliance).
M
M
ethod
ethod
Fig 1
Fig 2
Fig 3
Fig 4
Fig 5
4
Front