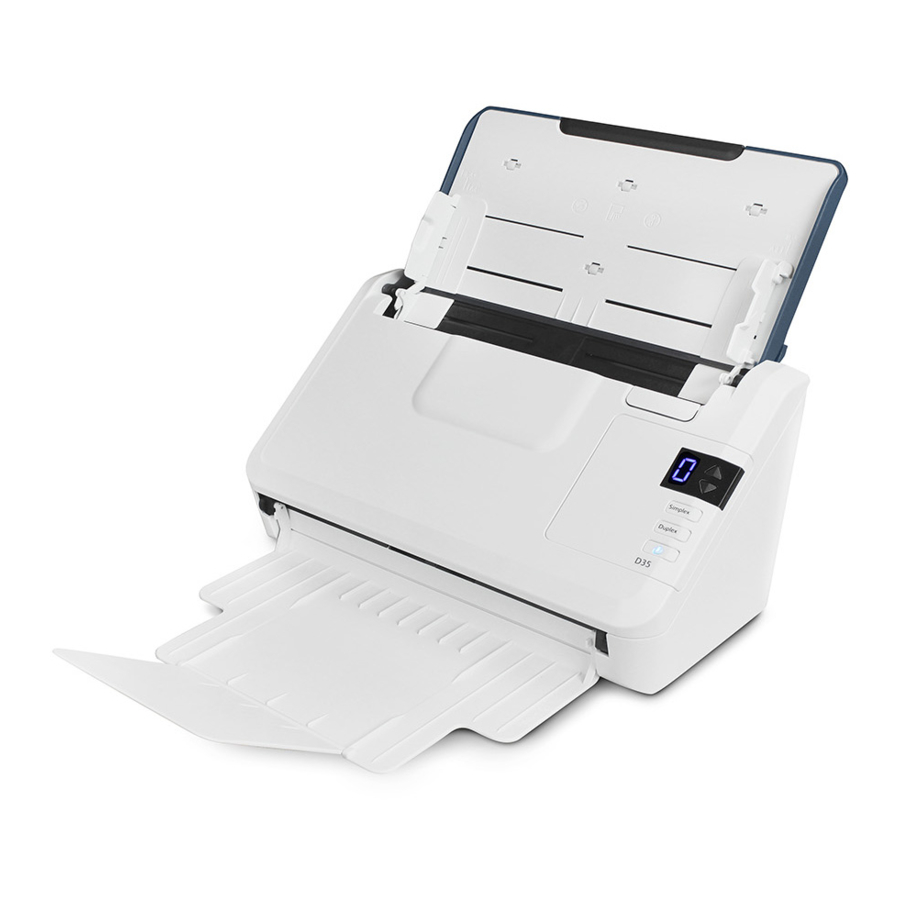
Xerox D35 Panduan Pengguna - Halaman 19
Jelajahi secara online atau unduh pdf Panduan Pengguna untuk Pemindai Xerox D35. Xerox D35 50 halaman.

Installation
Connect the USB Cable and Turn on the Power
If you did not connect the scanner earlier, proceed with the instructions below.
1.
Remove any tape from the USB cable.
2.
Plug the USB cable into the USB port on the scanner then into a USB port on the computer.
Check your computer's manual for USB port locations.
If the plug does not attach easily, make sure that you are plugging it in correctly. Do not force
the plug into either connection.
3.
Turn on the scanner power.
The status light comes on and flashes indicating that the scanner is receiving power.
Your computer recognizes that a scanner has been plugged into the USB port and
automatically loads the appropriate software to run the scanner.
Install the Visioneer Scan Utility
The Visioneer Scan Utility software installation will start automatically after you click Close on
the driver Installation Complete window. Follow the instructions on the screen to install the
application.
Software
About the Software
Visioneer Scan
This utility uses the scanner's TWAIN interface for scanning. You can select a
Utility
destination folder on your computer and save the image as any one of several
popular image file formats (BMP, JPG, GIF, TIF, Multi-Page TIF, PDF, Multi-Page PDF).
Installing Additional Applications
1.
Return to the Main menu and click Install software.
2.
If a version of the software is already installed on the system, the option will be greyed out.
However, if there is a newer version available online, it will be possible to upgrade by selecting
the appropriate button option.
User Guide
®
Xerox
D35 Scanner
4-5
