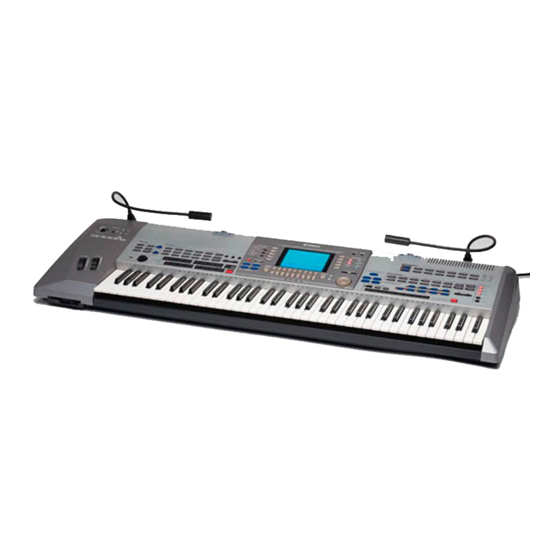
Yamaha 9000 Pro Panduan Servis - Halaman 12
Jelajahi secara online atau unduh pdf Panduan Servis untuk Alat Musik Yamaha 9000 Pro. Yamaha 9000 Pro 20 halaman. Professional workstation
Juga untuk Yamaha 9000 Pro: Panduan Pemilik (35 halaman)

9000 Pro
[150A]
Volume knob (DIMMER)
MIC/HP
[150]: Bind Head Tapping Screw-B 3.0X8 MFZN2BL (EP600190)
8.
PN4 Circuit Board
8-1
Remove the bottom assembly. (See procedure 1.)
8-2
Remove the AM circuit board. (See procedure 2.)
8-3
Remove the power supply assembly. (See procedure
2.)
8-4
Remove the six (6) screws marked [750A]. The PN4
circuit board can then be removed. (Fig. 7)
9.
DJACK and INV Circuit Boards and LCD
9-1
Remove the bottom assembly. (See procedure 1.)
9-2
Remove the DA circuit board. (See procedure 3.)
9-3
Remove the DM and TG circuit boards. (See
procedure 4.)
9-4
DJACK Circuit Board
Remove the ten (10) screws marked [750B]. The
DJACK circuit board can then be removed. (Fig.7)
9-5
INV Circuit Board
Remove the four (4) screws marked [70B]. The INV
circuit board and the INV cover can then be removed.
(Fig.7)
9-6
LCD
(Time required: About 25 min.)
Remove the screw marked [800] and the four (4)
screws marked [750C]. The LCD assembly can then
be removed. (Fig.7)
Remove the four (4) screws marked [70C]. The LCD
can then be removed from the LCD holder. (Fig.8)
12
<Rear view>
[150B]
<Bottom view>
MIC/VR
(Fig. 4)
(Time required: About 20 min.)
(Time required: About 25 min.)
(Time required: About 20 min.)
:
Power Supply Assembly
<Rear view>
Power Switch
<Top view>
[70A]
[85]
[60]
[60]: Bind Head Tapping Screw-B 3.0X6 MFZN2Y (EP600130)
[70A]: Bind Head Tapping Screw-B 4.0X8 MFZN2BL (EG340190)
[80B]: Bonding Tapping Screw-B 3.0X8 MFZN2BL (VN413300)
[85]: B ind Head Tapping Screw-B 3.0X8 MFZN2Y (EP600250)
<Rear view>
<Bottom view>
[10e]
[10e]: Bind Head Tapping Screw-B 3.0 X 6 MFZN2Y (EP600130)
[780]: Pan Head Screw 2.5 X 6 MFZN2BL (VS206600)
10.
AJACK2 and AJACK Circuit Boards
:
(Time required: About 25 minutes each)
10-1 Remove the bottom assembly. (See procedure 1.)
10-2 Remove the AM circuit board. (See procedure 2.)
:
10-3 Remove the DA circuit board. (See procedure 3.)
10-4 Remove the DM and TG circuit boards. (See
procedure 4.)
10-5 AJACK2 Circuit Board:
Remove the three (3) screws marked [750D]. The
AJACK2 circuit board can then be removed. (Fig.7)
10-6 AJACK Circuit Board:
Remove the eight (8) screws marked [750E]. The
AJACK circuit board can then be removed. (Fig.7)
[80B]
INLET Connector Assembly
Frame
[85]
[60]
Power Supply Unit
(Fig. 5)
[780]
(Fig. 6)
