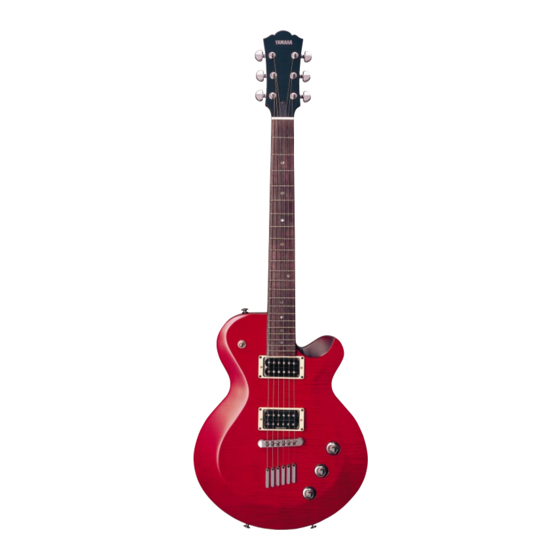
Yamaha AES620 Panduan Pemilik - Halaman 9
Jelajahi secara online atau unduh pdf Panduan Pemilik untuk Alat Musik Yamaha AES620. Yamaha AES620 14 halaman. Owners manual
Juga untuk Yamaha AES620: Panduan Servis (4 halaman)

- 1. Table of Contents
- 2. Care and Maintenance
- 3. Tuning Machine Tension Adjustment
- 4. Height Adjustable Locking Nut
- 5. Setting the String Action
- 6. VIBRATO SYSTEM Vintage Type
- 7. VIBRATO SYSTEM Locking Type (Part 1)
- 8. VIBRATO SYSTEM Locking Type (Part 2)
- 9. Bridge/Spring Tension Adjustments
- 10. Truss Rod Adjustment
- 11. Pickup Height Adjustment
- 12. Correct Use and Handling of Batteries
- 13. Safety Precautions
TRUSS ROD ADJUSTMENT
The curvature of the neck should be slightly concave.
Clockwise rotation of the nut tightens the rod and corrects for
too much concave bow. Counterclockwise rotation of the nut
loosens the rod and corrects for too much convex bend. Make
any adjustments gradually. Allow five to ten minutes for setting,
and check the curvature after each 1/2 turn of the truss rod
nut.
If too much
If too much
concave bow
convex bend
NOTE: Unless you have experience with truss rods, we sug-
gest that you entrust this adjustment to your dealer.
The height of the pickup (i.e. distance from the strings) affects
gain — the higher the pickup, the louder the sound, and vice
versa. If the pickup is set too high, sustain and playability will
suffer because of the magnetic pull on the strings. Adjust over-
all height using the screws located at either side of the pickup.
If the pickup has individually adjustable polepieces (most hum-
buckers do), these can then be adjusted to achieve the best
overall balance. The polepieces should normally be about 2 or
3 millimeters from the strings.
Single-coil Pickup
concave
convex
Height adjustment screw
9
PICKUP HEIGHT ADJUSTMENT
Humbucking Pickup
Adjustable polepiece
Height adjustment screw
