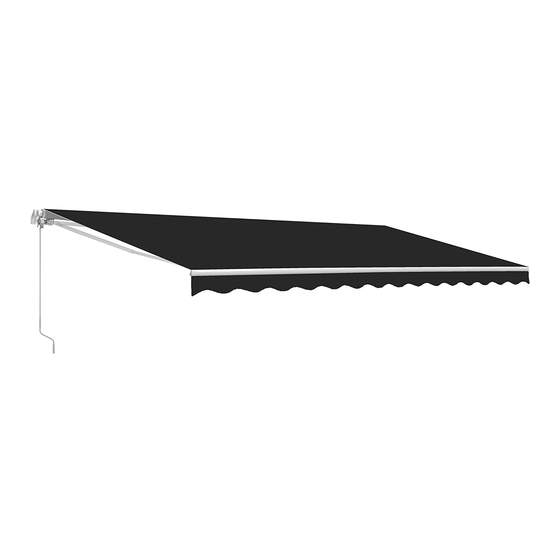
Aleko Victoria Series Panduan Instalasi - Halaman 14
Jelajahi secara online atau unduh pdf Panduan Instalasi untuk Aksesori Aleko Victoria Series. Aleko Victoria Series 20 halaman. Sizes 6.5x5 8x6.5 10x8
Juga untuk Aleko Victoria Series: Petunjuk Pemasangan dan Pengoperasian Manual (12 halaman), Panduan Perakitan (14 halaman), Panduan Instalasi (17 halaman)

- 1. Parts Diagram
- 2. Assembly Step One: Preparing Your Work Space
- 3. Assembly Step Four: Torsion Bar Assembly
- 4. Assembly Step Eight: Center Support Assembly
- 5. Installation: Notes about Wall Mounting
- 6. Optional Installation: Adjusting the Awning Pitch/Angle
- 7. Optional Installation: Motor Installation
STEP 2: Drilling the Bolt Holes
1. Now that you have a straight, level line across the wall with the locations
of the wall brackets and their bolt holes marked, you will drill holes to
mount the brackets.
2. Using a 16mm masonry drill bit, drill the first bolt hole approximately
4 inches (9 centimeters) deep, as shown in the diagram. This must be
drilled through solid brick or concrete to offer the necessary support for
the awning.
3. Drill the remaining holes exactly as in step 2.
IMPORTANT: All bolt holes must be aligned vertically and horizontally to ensure
that the awning hangs straight.
Double check alignment before drilling if you are not certain.
IMPORTANT: The diameter and depth of your mounting holes must be the same
size as the expansion bolts.
STEP 3: Preparing For Mounting
1. Now that all of your holes are drilled, insert the expansion bolts.
2. It may be necessary to drive the bolts in with a wooden (or other non-metallic) mallet.
If a mallet is necessary for installation, we recommend placing the nut on the screw
(loosely) before hammering to avoid damaging the bolt threads.
3. Make sure that the bolts are firmly in place, yet let them stick out of the wall approximately 1 inch or less - enough
that the wall bracket can be installed onto them.
4. Firmly tighten the bolts with a 19mm hex key. It is best to use the hex key with a closed end rather than an open end
to avoid damaging the nut, should it slip.
Spring washer
Expansion bolt
Washer
14
Nut
Bolt
Drill 9 cm (~4') deep
