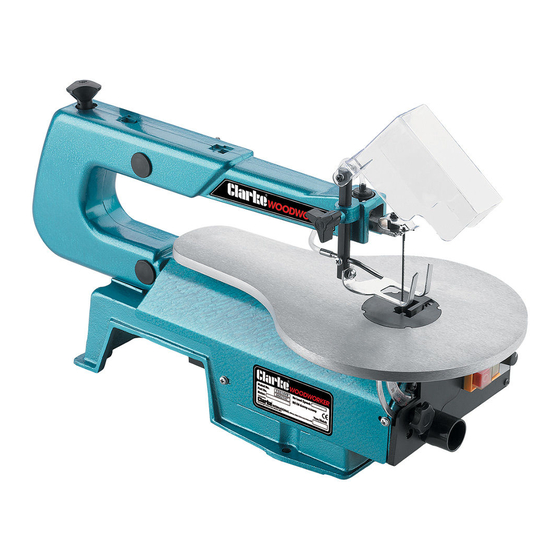
Clarke CSS16V Petunjuk Pengoperasian & Pemeliharaan - Halaman 9
Jelajahi secara online atau unduh pdf Petunjuk Pengoperasian & Pemeliharaan untuk Melihat Clarke CSS16V. Clarke CSS16V 15 halaman. 400mm (16") variable speed scroll saw

3. BEVEL ALIGNMENT
To align the bevel indicator, loosen the table bevel
lock knob, and level the table until it is at right
angles to the blade. Use a small square to be sure
that the angle between blade and table is 90
When the table is perpendicular to the blade,
tighten the bevel lock knob.
Loosen the screw holding the pointer, adjust the
pointer to 0
O
, then retighten the screw.
The bevel scale is a convenient indicator, but it is
not guaranteed to be 100% accurate. Where
absolute accuracy is required, always double
check with a protractor before starting a cut.
4. BLADE INSTALLATION / RENEWAL
4.1 Before installing or removing blades, turn OFF the saw and disconnect it from the
supply. Remove the blade as described in 2.
NOTE:
The blade slots and pin recesses are made so you can position the blade for cutting from
the front, or from the side (see figs. 3). Cutting from the side is necessary when your
workpiece is over 16" long.
IMPORTANT: Side cutting can only be performed when the table is level, i.e. set to 0
4.2 With the blade teeth pointing DOWNWARDS, slot the new blade into the lower
housing so that the pins on the end of the blade, engage in the recess in the
housing. Holding the blade firmly, apply downward pressure to the upper arm
whilst slotting the upper end of the blade into the slot in the upper housing, again,
making sure the blade pins correctly engage in the recess in the housing.
4.3 Replace the Table Insert, and re-tension to the blade, by turning the tension
knob clockwise until you feel the blade is firm. Check to ensure that the blade
pins are properly seated, top and bottom.
OPERATION
Ensure the machine is completely stable...either bolted to a workbench, or with the
mounting board clamped firmly to a workbench.
Ensure the table is perfectly secure and at the desired angle and the blade tensioned
correctly...ie. tight but not excessively so.
Plug in the mains cable and set the variable speed control to zero..fully anticlockwise.
Place the workpiece on the table and bring the Drop Foot into light contact with the
work surface, then tighten the securing screw.
Switch ON by pressing the green knob 'I'. Turn the variable speed control to a desired
speed....generally, the harder or thicker the wood, the slower the speed.
Feed the workpiece into the blade gently....do not force it. If there is a need to stop
cutting, switch OFF by pressing the red knob 'O', and allow the blade to stop
completely before gently working the blade out of the workpiece.
NOTE: A Dust Port is provided so that a vacuum extraction device may be used.
(see fig. 4)
o
9
.
Fig. 4
O
.
