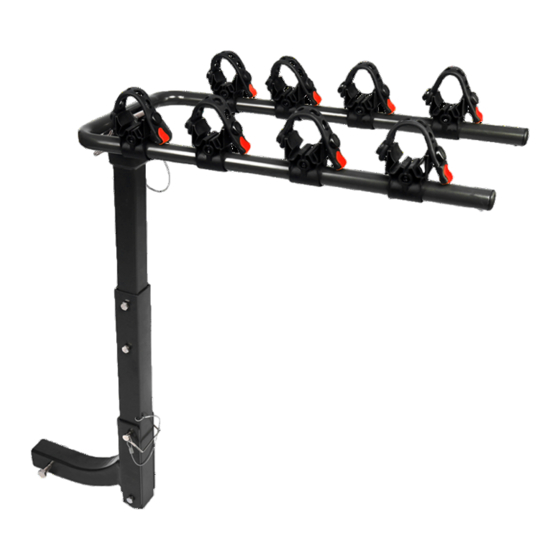
DK2 BCR290 Panduan Instalasi - Halaman 6
Jelajahi secara online atau unduh pdf Panduan Instalasi untuk Aksesori Mobil DK2 BCR290. DK2 BCR290 12 halaman. Hitch mounted bike carrier

ENGLISH
ASSEMBLY
1. Insert the lower
mast tube (C, fig.2)
into the L-shaped
hitch connector (D,
fig.2), making sure
to align the bolt
holes at the bottom
of each.
2. Secure the lower
mast tube to the
L-shaped hitch
connector using the
3/8"-16 x 3" bolt (G,
fig.2) through the
bottom holes and a
3/8"-16 nylock nut (I,
fig.2).
3. Insert the clevis pin
(P1, fig.2) -attached
to the lower mast
with a cable lanyard-
through the upper hole in the L-shaped hitch connector
and press the locking clip onto the protruding end of the
pin to prevent its coming out.
4. Insert the upper mast tube (B, fig.3) into the lower mast
tube (C, fig.3).
Secure with two
3/8"-16 x 2.5" bolts
(F, fig.3) and two
3/8"-16 nylock nuts
(I, fig.3).
6
BCR290 man
C
P1
fig.2
G
P2
B
F
F
fig.3
FRANÇAIS
ASSEMBLAGE
en L et appuyez sur la barrure de verrouillage sur
l'extrémité saillante de la goupille pour éviter sa sortie.
4. Insérez le tube de mât supérieur (B, fig.3) dans le mât
inférieur tube (C, fig.3). Sécurisé avec deux Boulons 3/8
I
I
C
P1
D
1.
Insérez le mât
inférieur tube (C, fig.2)
dans l'attelage en L
connecteur (D, fig.2),
en veillant à aligner les
trous de boulons au
bas de chacun.
D
2.
Fixez le tube du
mât à l'attelage en L
du connecteur à l'aide
du Boulon 3/8 "-16 x 3"
I
(G, fig.2) à travers des
trous inférieurs et d'un
écrou nylock 3/8 "-16 (I,
fig.2).
3.
Insérez la goupille
(P1, fig.2) – attacher au
mât inférieur avec une
longe de câble la partie
supérieure trou dans le
connecteur d'attelage
"-16 x 2,5" (F, fig.3) et
deux écrous nylock
3/8 "-16 (I, fig.3).
