DK2 BCR290 Panduan Instalasi - Halaman 8
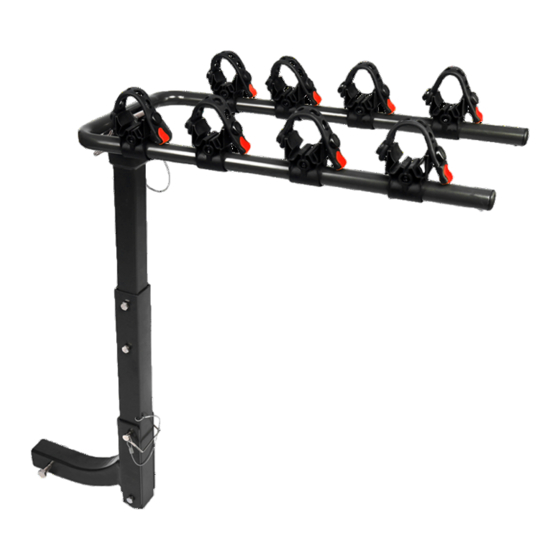
Jelajahi secara online atau unduh pdf Panduan Instalasi untuk Aksesori Mobil DK2 BCR290. DK2 BCR290 12 halaman. Hitch mounted bike carrier

ENGLISH
ASSEMBLY
7. Attach the eight
rubber straps to
the knobs on the
forward side of the
plastic bike cradles
(fig.6).
8. Slide the anti-
wobble chock (L,
fig.7) into the end of
the L-shaped hitch
connector (D, fig.7),
being sure to align
the bolt holes.
9. Lift the bike carrier
and turn it so the
mast is vertical.
Insert the L-shaped
hitch connector into
the 2 inch receiver
on the vehicle, again
being careful to
align the bolt holes
in the receiver, the
connector and the
chock.
10. Pass bolt 1/2-13 x
3.5" bolt (J, fig.7)
through the holes
in the receiver, the
connector and the
chock and fasten
it with the 1/2-13
nylock nut.
USE
NOTE: Before each use, be sure all the components
of the rack are in good working order. Verify that all
hardware is tight and secure before mounting bicycles
onto the BCR290.
NOTE:
z Generally, bicycles should be mounted with the
heavier closest to the vehicle, working out to the
lighter bicycle.
z It is usually easiest to alternate the direction the
bicycles face, preventing the handlebars from
interfering with each other.
8
BCR290 man
8 x
fig.6
fig.7
FRANÇAIS
ASSEMBLAGE
J
UTILISATION
REMARQUE : Avant chaque utilisation, assurez-vous
que toutes les composantes du porte-vélos sont en bon
état de fonctionnement. Vérifiez que tout la quincaillerie
soit bien fixée avant de déposer des vélos sur le
BCR290.
REMARQUE :
z En général, les bicyclettes doivent être montées en
plaçant la plus lourde le plus près du véhicule et la
plus légère à l'extrémité du support.
z Il est généralement préférable d'alterner les poignées
des bicyclettes pour empêcher les guidons d'interférer
les uns avec les autres.
7.
Fixez les huit
sangles en caoutchouc
aux boutons sur le
côté avant du berceau
de plastique pour vélo
(fig.6).
8.
Faites glisser les
cales anti-oscillation
(L, fig.7) à la fin de
l'attelage en L r (D,
fig.7), soyez sûr
d'aligner les trous de
boulons.
9.
Soulevez le porte-
vélos et tournez-le
le mât est vertical.
Insérer l'attelage en
L connecteur dans le
récepteur 2 pouces
du véhicule, encore
une fois assurez-vous
d' aligner les trous
L
de boulons dans le
récepteur.
10. installez le boulon
K
1/2-13 x Boulon
de 3,5 "(J, fig.7) à
travers le récepteur, le
connecteur et attacher
avec le 1 / 2-13 écrou
nylock.
D
