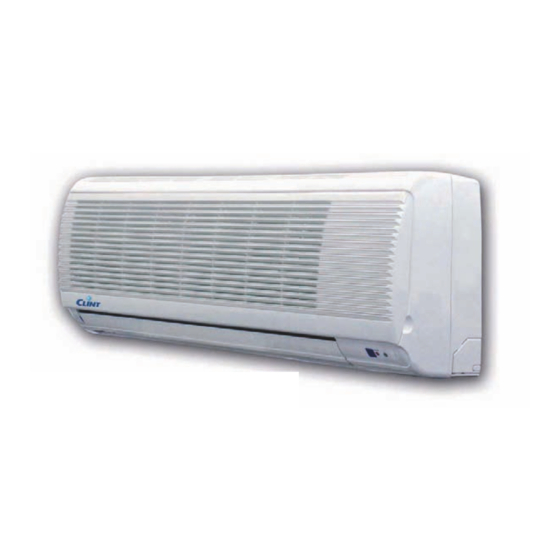
Clint HWV Panduan Pemasangan, Penggunaan, dan Pemeliharaan - Halaman 5
Jelajahi secara online atau unduh pdf Panduan Pemasangan, Penggunaan, dan Pemeliharaan untuk Pendingin Udara Clint HWV. Clint HWV 20 halaman.

2. MIEJSCE MONTAŻU KLIMAKONWEKTORA
2. LOCATION FOR FAN COIL UNIT
Wybierając miejsce montażu klimakonwektora należy
wziąć pod uwagę:
1. Wlot i wylot powietrza z przodu urządzenia nie powi-
nien być niczym przesłonięty. Powietrze powinno być
swobodnie nawiewane.
2. Konstrukcja ściany, na której zostanie zamontowane
urządzenie nie powinna przenosić drgań.
3. Z każdej strony klimakonwektora należy zapewnić wol-
ną przestrzeń, zgodnie z rysunkiem 1.
4. Mierząc od podłogi, jednostka powinna być zamonto-
wana powyżej wysokości wzroku.
UWAGA: Należy unikać montażu urządzeniu w miejscu
narażonym na bezpośrednie działanie światła słonecznego.
80
Powyżej wysokości wzroku
Higher than eye level
Przestrzeń serwisowa
Maintenance & service space
Kierunek nawiewu powietrza
Air flow direction
3. MONTAŻ STELAŻU POD JEDNOSTKĘ
3. MOUNTING PLATE INSTALLATION
1. Po dokonaniu wyboru odpowiedniego miejsca monta-
żu, należy przyłożyć stelaż poziomo do ściany. Stelaż
powinien być wypoziomowany. W miarę możliwości
należy wykorzystać poziomicę.
2. W odniesieniu do rysunku na stronie 6, należy zazna-
czyć miejsca otworów pod rury oraz rozmieszczenie
śrub mocujących.
50
Select the location of the fan coil unit with following con-
sideration:
1. The front of the air inlet and outlet shall be free from
any obstruction. The outlet air should flow out freely.
2. The wall where the unit is to be mounted should be
stiff enough not to resonate and produce noise.
3. Ensure the clearance on every side of the fan coil unit
to conform to figure 1.
4. From floor, the height should be more than eye level.
CAUTION: Avoid installing the unit from direct sunlight.
Rysunek 1 / Figure 1
Poziom podłogi
Floor level
1. After a suitable place for installation has been selec-
ted, place the mounting plate horizontally on the wall.
Make sure the alignment is horizontal. Use a plumb
line, if available.
2. Refering to the figure on page 6, mark the location for
the wall plugs and the hole for the pipings.
50
80
Powyżej wysokości wzroku
Higher than eye level
5
