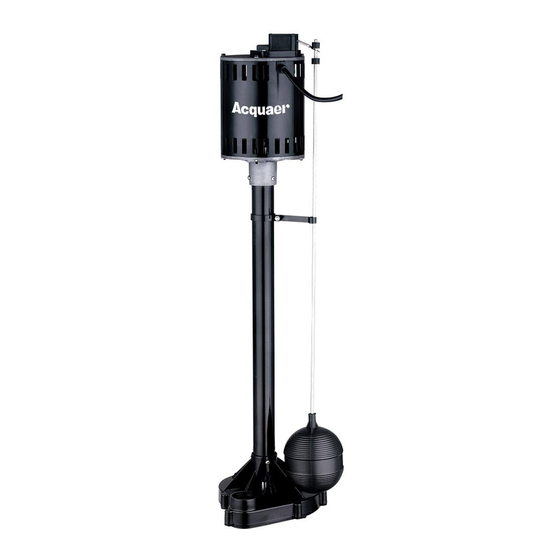
Acquaer PEP033 Panduan Pemilik - Halaman 3
Jelajahi secara online atau unduh pdf Panduan Pemilik untuk Pompa Air Acquaer PEP033. Acquaer PEP033 6 halaman. Pedestal pump
Juga untuk Acquaer PEP033: Panduan Pemilik (11 halaman)

PIÈCES SCHÉMA
1
2
3
4
LISTE DES PIECES
La description
Numéro de pièce
1
corps de la pompe
2
3
4
base de la pompe
5
Arbre de transmission
6
boule flottante
10
5
6
interrupteur
impelleur
SAFETY INFORMATION
A lways use a grounded outlet to attach the plug. A three-prong mating type receptacle is needed
for safe use. This should be in accordance with the National Electric Code and any additional
codes or laws required by your local government.
T his unit is designed only for use on 115 volts (single phase), 60 Hz, and is equipped with an
approved 3-conductor cord and 3-prong grounded plug. DO NOT REMOVE THE GROUND PIN
UNDER ANY CIRCUMSTANCES. The 3-prong plug must be directly inserted into a properly
installed and grounded 3-prong, grounding-type receptacle. Do not use pump with a 2-prong wall
outlet. Replace the 2-prong outlet with a properly grounded 3-prong receptacle (a GFCI outlet)
installed in accordance with the National Electrical Code and local codes and ordinances. All
wiring should be performed by a qualified electrician.
P rotect the electrical cord from sharp objects, hot surfaces, oil, and chemicals. Avoid kinking the
cord. Do not use damaged or worn cords.
CAUTION
Y our pump has thermal over-load protection built in. The thermal overload protector will
automatically shut down the motor in an overheat situation. It will then reset itself once the motor
cools down. The pump will then work again. This overload protector is designed as a safety device
and it will fail after repeated use.
F or best performance, it is recommended to connect the power cord directly to the grounded GFCI
outlet. If the use of an extension cord is necessary, always use a grounded waterproof type cord.
Never use longer than a 25-ft. cord that is lighter than 14/3 gauge.
K eep all electrical connections away from wet and moist environments. Wet connections can
cause electrical shock resulting in personal injury.
A LWAYS DISCONNECT THE POWER SOURCE BEFORE ATTEMPTING TO INSTALL, SERVICE
OR PERFORM MAINTENANCE ON THE PUMP. FAILURE TO DO SO MAY RESULT IN FATAL
ELECTRICAL SHOCK.
INSTALLATION INSTRUCTIONS
1 .
a . Insert the float rod through the hole in the switch.
b. Carefully slide the rubber grommet onto the float rod. NOTE: Use liquid soap to help slide the
grommet on the float rod.
c. Slide guide onto the float rod and attach it to the column.
d. Thread the float ball onto the float rod. You may need a set of pliers to prevent the rod from
turning.
e. Move the grommet up or down on the float rod to adjust the "turn on" position of the pump.
S et your new pump in the bottom of the sump basin. The pump should be placed on a solid
2.
foundation. Do not place pump directly on sandy or rocky surfaces. Sand and small stones may
clog or cause damage to your pump.
M ake sure the float ball will move up and down freely
3.
without coming in contact with the side of the sump pit.
Contact with the side of the sump pit may cause the
switch to malfunction. See as below.
GFCI Outlet
Switch
Grommet
Guide
Column
Float Rod
Check Valve
Float Ball
3
