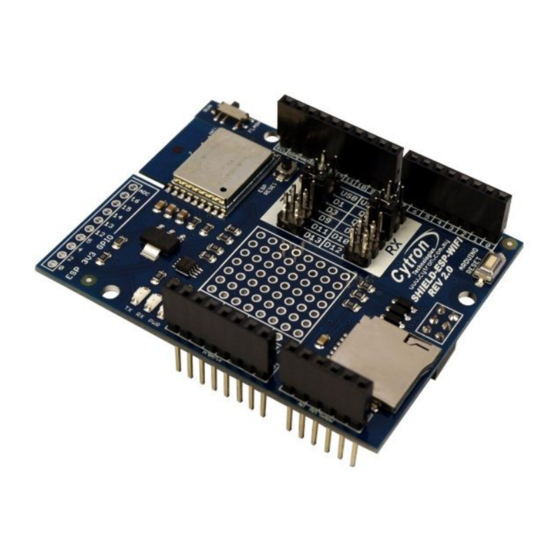
Cytron SHIELD-ESP-WIFI Panduan Pengguna - Halaman 12
Jelajahi secara online atau unduh pdf Panduan Pengguna untuk Peralatan Perekaman Cytron SHIELD-ESP-WIFI. Cytron SHIELD-ESP-WIFI 17 halaman.
5. Connect A rduino b oard t o P C u sing U SB c able.
6. Open A rduino I DE. D etermine w hich C OM p ort A rduino U no i s c onnected t o a nd
configure t he p ort s ettings u nder m enu T ools - > P ort.
7. Go to File -> Examples -> CytronWiFiShield and open example sketch
CytronWiFiDemo.
8. Change s sid f rom " ..." t o y our n etwork n ame a nd " pass" t o c orresponding p assword.
For e xample, y our n etwork r outer S SID i s W iFly a nd p assword i s a bcd.
const c har * ssid = " WiFly";
const c har * pass = " abcd";
9. Check the line wifi.begin(2, 3). 1st argument for this function refers to RX of Arduino
and 2nd refers to TX. If D2 is selected for RX and D3 for TX on ESPWiFi Shield, the
configuration i s c orrect.
10. Upload t he p rogram t o A rduino b oard.
11. Open A rduino S erial M onitor t o v iew t he p rogress. S etup t o 9 600 b aud.
12. Make s ure P C i s c onnected t o t he s ame i nternet n etwork w ith t he E SPWiFi S hield.
13. Observe the IP Address shown in Serial monitor. Enter the IP Address using any web
browsers ( Google C hrome, M ozilla F irefox, e tc.)
Created b y C ytron T echnologies S dn. B hd. – A ll R ight R eserved
Product U ser's M anual – E SPWiFi S hield R ev2.0
ROBOT . H EAD t o T OE
12