Barnes 3SE-DS Series Manuale di installazione e funzionamento - Pagina 10
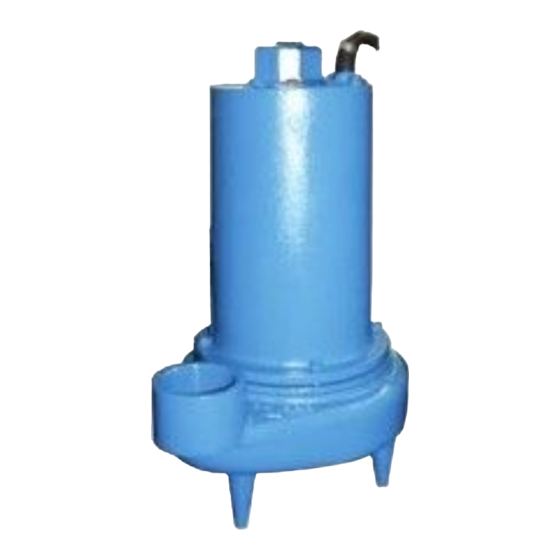
Sfoglia online o scarica il pdf Manuale di installazione e funzionamento per Apparecchiature industriali Barnes 3SE-DS Series. Barnes 3SE-DS Series 17. Submersible sewage ejector
Anche per Barnes 3SE-DS Series: Manuale di installazione e funzionamento (20 pagine), Manuale di installazione e funzionamento (18 pagine)
Power Cable (32A)
Gland Nut (32B)
Friction Ring (32C)
Grommet (32D)
Friction Ring (32C)
FIGURE 4
F-3.4) Cable Assemblies:
Power Cable - Refill with cooling oil (if it has been drained) as
outlined in paragraph F-1.3. Make wire connections as outlined
in paragraph F-3.3. Apply thread locking compound to hex nut
(16) and tighten into motor housing (5). Insert one friction ring
(30c), grommet (30d), another fiction ring (30c) and gland nut
(30b) into hex nut (16) and tighten gland nut (30b) to 15 ft. lbs.
to prevent water leakage (see Fig. 4).
Control Cable - Insert one friction ring (32c), grommet (32d),
one friction ring (32c) and gland nut (32b) into motor housing
(5). Torque gland nut (32b) to 15 ft. lbs to prevent water
leakage.
F-4) Shaft Seal Service:
Important ! - Handle seal parts with extreme care.
DO NOT scratch or mar lapped surfaces.
F-4.1) Disassembly and Inspection:
OUTER SEAL -To expose outer shaft seal (31) for examination
disassemble volute and impeller as outlined in paragraph
F-2.1. If further repair is required remove retaining ring (31d),
spring (31c) and rotating member (31b) from shaft (see
Fig. 5). Examine all seal parts and especially contact faces.
Inspect seal for signs of wear such as uneven wear pattern on
stationary members, chips and scratches on either seal face.
DO NOT interchange seal components, replace the entire
shaft seal (31). If replacing seal, remove stationary (31a) by
prying out with flat screw driver.
FIGURE 5
SEAL ASSEMBLY (31)
Power Cable (30A)
Gland Nut (30B)
Hex Nut (16)
INNER SEAL- To expose inner shaft seal (31) for examination,
remove outer seal as outlined above. Remove socket head
cap screw (51). Lift seal plate (1), spacer (50) and square rings
(8) from seal plate (52). If replacement is required remove
retaining ring (49), retaining ring (31d), spring (31c) and
rotating member (31b) from shaft. Examine as outlined in outer
seal paragraph.
F-4.2) Reassembly:
Seal - Clean and oil seal cavities in seal plate (1). Lightly oil (DO
NOT use grease) outer surface of stationary member (31a).
Press stationary member (31a) firmly into seal plate (1), using
a seal pusher (see parts list- Seal Tool kit), nothing but the seal
pusher is to come in contact with seal face (see Fig. 6).
Important ! - DO NOT hammer on the seal pusher-
it will damage the seal face.
Make sure the stationary member is in straight. Slide a bullet
(see parts list-seal tool kit) over motor shaft. Lightly oil (DO
NOT use grease) shaft, bullet and inner surface of bellows
on rotating member (31b) see Fig. 7. With lapped surface of
rotating member (31b) facing inward toward stationary member
(31a), slide rotating member (31b) over bullet and onto shaft,
using seal pusher, until lapped faces of (31a) and (31b) are
together (see Fig. 5).
Important ! - It is extremely important to keep seal
faces clean during assembly. Dirt particles lodged
between these faces will cause the seal to leak.
RETAINING RING (31D)
ROTATING MEMBER (31B)
10
Friction Ring (30C)
Grommet (30D)
Friction Ring (30C)
SEAL PLATE (1)
SPRING (31C)
STATIONARY (31A)