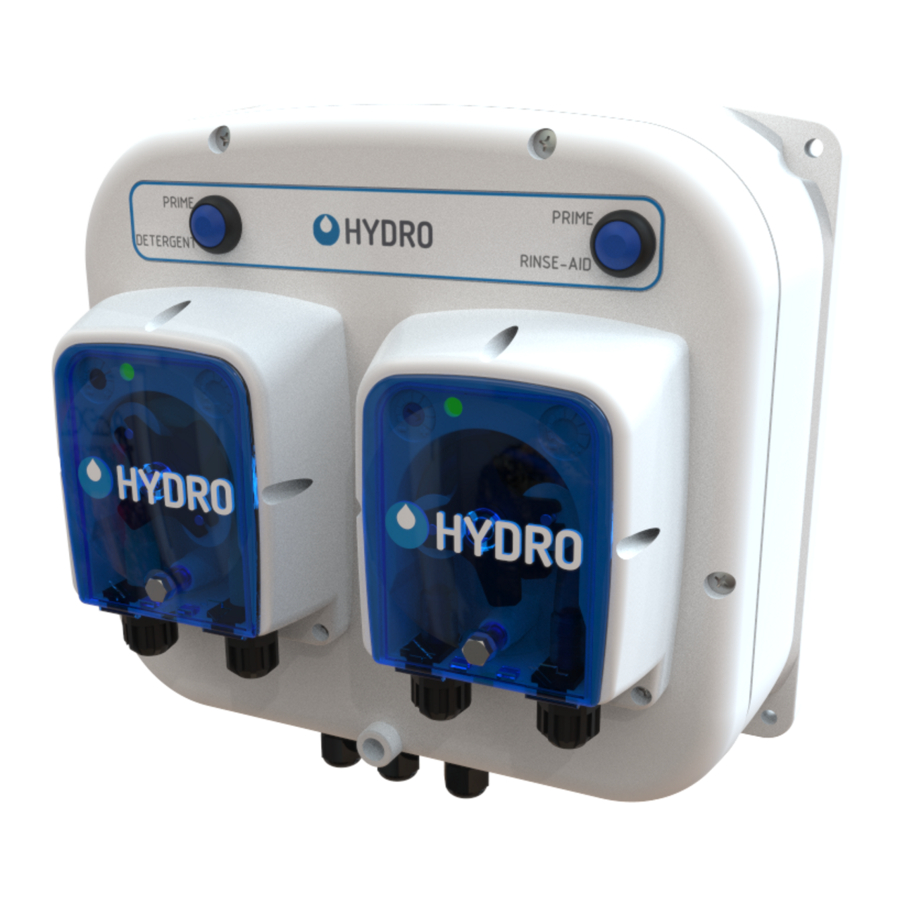
Dover HYDRO DM-500 Manuale d'uso - Pagina 7
Sfoglia online o scarica il pdf Manuale d'uso per Dispenser Dover HYDRO DM-500. Dover HYDRO DM-500 14. Warewash dispenser

2.OO installation (continued)
2.O3 Mechanical Installation (continued)
Installing the Detergent Injection Fitting
1) When choosing a mounting locating, make sure that the detergent
infection fitting will be:
•
Above the water level of the filled wash tank.
•
Discharging detergent directly into the wash tank and not on top of
any shelf areas or other obstacles that could prevent detergent from
falling directly into the wash tank.
2. Previously punched holes may be suitable but always confirm that the
fitting is correctly placed. 10mm (3/8'') holes are common in Europe
and 22mm (7/8'') holes are common in North America. If an appropriate
hole is present, go to step 4.
3. If a hole is not available already, drill a 10mm (3/8'') hole at the center of
your chosen detergent injection location on the dish machine tank.
4. Remove the retaining nut from the supplied detergent injection fitting
and gather the gaskets and washers supplied with the unit.
5 a. For a 10mm (3/8'') hole insert the detergent injection fitting, with a
rubber gasket, into the hole you drilled earlier.
b. For a 22mm (7/8'') hole insert the detergent injection fitting, with a
large rubber gasket backed by a large stainless steel washer.
6. From the inside of the machine install a second rubber washer,
stainless backing washer if using a 22mm (7/8'') hole, and the retaining
nut. Tighten finger-tight, then snug using a wrench.
CAUTION!
Do not over-tighten the plastic retaining nut.
Installing the Rinse and Detergent Supply and Discharge Tubes
1) Install the included PVC pump supply tube (4mm ID, 6mm OD) into the chemical container using the foot filter with screen
and weight to position the tube at the bottom of the container.
2) Route the other end of the included PVC pump supply tubes from supply containers to the inlet sides (left) of each
respective pump. Slip the tube fully through the compression nut into fitting and tighten.
3) Route pump discharge tubes to the outlet sides (right) of each respective pump. Slip the tube fully through compression
nut into fitting and tighten.
4) Route the other end the pump discharge tube to the appropriate injection fitting (see the injection fitting installation
instructions on previous page for more detail). Slip the tube fully through the compression nut onto fitting nipple and
tighten.
NOTE: Try to keep both the supply and discharge hoses as straight as possible, avoiding all unnecessary bends.
Wash Tank
Wall
Outside
Inside
Compression
Nut
Outer
Inner
Rubber
Rubber
Gasket
Gasket
Outer
Steel Washer
Steel Washer
(UL Only)
90° (Right Angle)
Detergent Injection
Fitting
(CE model shown)
Retaining
Nut
Inner
(UL Only)
7
