Draper Acumen V Istruzioni Installazione e funzionamento - Pagina 9
Sfoglia online o scarica il pdf Istruzioni Installazione e funzionamento per Schermo di proiezione Draper Acumen V. Draper Acumen V 12. Electric projection screen 220v
Anche per Draper Acumen V: Istruzioni per l'installazione e il funzionamento (12 pagine)

Acumen
XL E & V
™
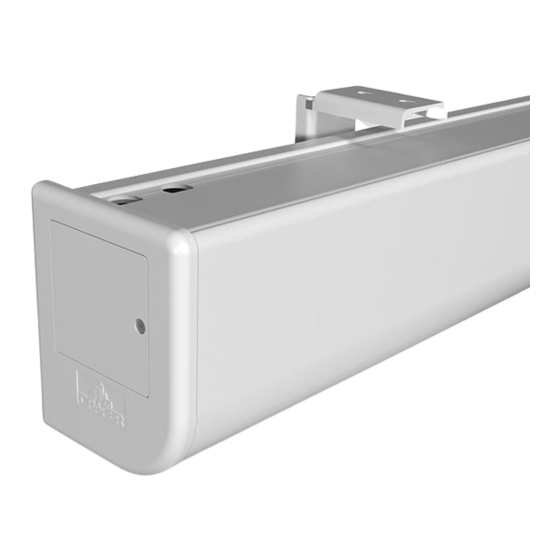
Section 9 - Accessing Internal Low-Voltage Control Unit
PLEASE NOTE: Applies ONLY if Unit is built into case.
1. Using a 3/32" Hex Wrench, remove the screw from the wiring access door on the motor end of the case.
2. Remove the wiring access door and locate the Low Voltage Wiring Whip.
3. Make appropriate Low Voltage wiring connections
Low Voltage connection hole on the either the top or back of case.
4. Replace the access door and secure with screw using 3/32" Hex Wrench.
Remove
Access
. Low Voltage wiring should exit through the
(see Section 8)
Two electrical connection holes
are included in the screen housing
to separate Low-Voltage
and High-Voltage Wiring.
Low Voltage Wire
Door
(LVC-IV)
.
(closest to the motor endcap)
Electrical
Connection Holes
Low Voltage
Figure 13
page 9 of 10
High Voltage
