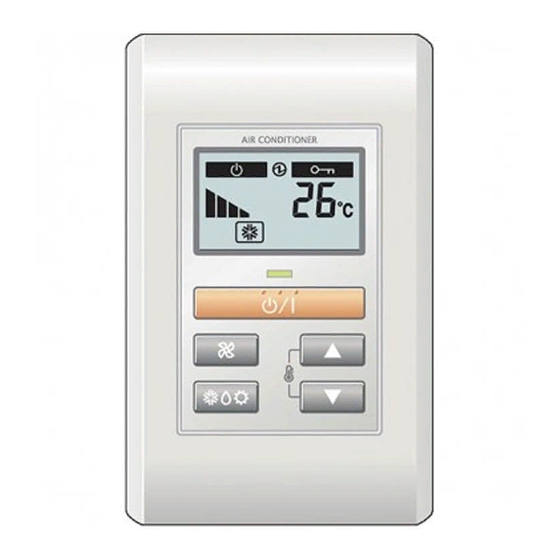
AirStage UTY-RHKY Manuale di installazione - Pagina 5
Sfoglia online o scarica il pdf Manuale di installazione per Telecomando AirStage UTY-RHKY. AirStage UTY-RHKY 8. Uty-rhk series
Anche per AirStage UTY-RHKY: Manuale operativo (2 pagine), Manuale operativo (20 pagine)

5.3.2. Check whether the indoor unit terminal block or
connectors are either type A or type B as described below.
Make sure to implement the connection method suitable for each type
according to the explanation below.
Type A
M3 screw
or
Terminal block
Terminal block
● Type A (Terminal block)
(1) Cut the Y-type remote control cable terminal, and remove the insulation
from the cut end of the cable. (Fig. 1)
Fig. 1
Y-type terminal
Remote controller
cable
(2) Connect the remote control cable to the exclusive terminal block.
Functional earthing (UTY-RHKYT)
Remote controller cable
Red : Y1
White : Y2
Black : Y3
Tightening torque
M3 screw
(Remote controller / Y1, Y2, Y3)
● Type B (Connector)
(1) Use a tool to cut off the Y-type terminal on the end of the remote controller
cable, and then remove the insulation from the cut end of the cable as
shown in Fig. 2. Connect the remote controller cable and connecting cable
as shown in Fig. 3. Be sure to insulate the connection between the cables.
Fig. 2
20 mm
White
Red
Remote con-
troller cable
(2) Connect the remote controller cable to the connecting cable, and insert
it to the connector.
Example 1.
Remote controller cable
Functional earthing
Connecting cable
(UTY-RHKYT)
Example 2.
Remote controller cable
Functional earthing
(UTY-RHKYT)
Type B
Connecting cable
PC board
Connector
Remove the insulation
Remote controller
cable
Terminal block
Indoor unit
PC board
0.5 to 0.6 N·m
(5 to 6 kgf·cm)
Fig. 3
White
Connector
Red
Black
Insulated
Connecting
connection
cable
Black
Indoor unit
Connector
PC board
Indoor unit
Connector
PC board
Connecting cable
Note: The DIP switch, exclusive terminal block, and connector layouts
depends on the type of indoor unit. For details, see the indoor unit
installation manuals.
Be careful of the following when connecting 2 cables to 1 terminal.
GOOD
PROHIBITED
Diameter of cables
are different
6. INSTALLATION METHODS
6.1. Group control
(1) Wiring method (indoor unit to remote controller)
● Type A (Terminal block)
Indoor unit
Y1 Y2 Y3
Remote
controller cable
When there is a
functional earthing
cable (UTY-RHKYT)
1 2 3
Remote controller
A number of indoor units can be operated at the same time using a single
remote controller.
● Type A (Terminal block)
Indoor unit 0
Indoor unit 1
When there
Y1 Y2 Y3
is a functional
earthing cable
(UTY-RHKYT)
1 2 3
Remote controller
● Type B (Connector)
Indoor unit 0
Indoor unit 1
Remote
controller cable
When there is
a functional
earthing cable
(UTY-RHKYT)
1 2 3
Remote controller
(2) Remote controller address setting of indoor unit
Set each remote controller address using the switch of each indoor unit in order from 0.
(Refer to the installation manual for the indoor unit.)
Up to 16 indoor units can be connected.
Connect the
cables to 1 side
● Type B (Connector)
Indoor unit
Remote
controller cable
Connector
When there
is a functional
earthing cable
1 2 3
(UTY-RHKYT)
Remote controller
Indoor unit 2
Indoor unit 3
Y1 Y2 Y3
Y1 Y2 Y3
Y1 Y2 Y3
Remote controller cable
Indoor unit 2
Indoor unit 3
Connector
Connection
En-4
