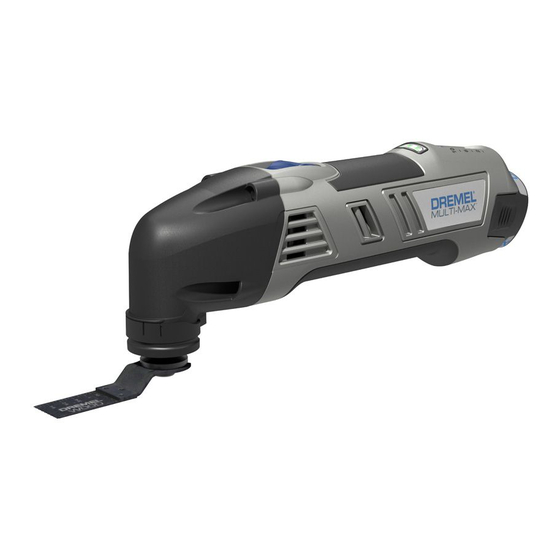
Dremel 8300 Manuale di istruzioni originale - Pagina 12
Sfoglia online o scarica il pdf Manuale di istruzioni originale per Utensile elettrico Dremel 8300. Dremel 8300 15.

IMPORTANT! Practice on scrap material first to see how the
tool's high-speed action performs. Keep in mind that your tool
will perform best by allowing the speed, along with the correct
accessory, do the work for you. Be careful not to apply too much
pressure.
Instead, lower the oscillating accessory lightly to the work
surface and allow it to touch the point at which you want to
begin. Concentrate on guiding the tool over the work using very
little pressure from your hand. Allow the accessory to do the
work.
Usually it is better to make a series of passes with the tool
rather than to do the entire job with one pass. To make a cut, for
example, pass the tool back and forth over the work. Cut a little
material on each pass until you reach the desired depth.
Slide "ON/OFF" switch
The tool is switched "ON" by the slide switch located on the
topside of the motor housing (Picture 7).
TO TURN THE TOOL "ON", slide the switch button forward.
TO TURN THE TOOL "OFF", slide the switch button backward.
Electronic monitoring
Your tool is equipped with an internal electronic monitoring
system that provides a "soft start", which will reduce the
stresses that occur from a high torque start.
Variable speed slide switch
Your tool is equipped with a variable speed slide switch. The
speed may be adjusted during operation by sliding the switch
back or forth between any one of the settings.
To achieve the best results when working with different
materials, set the variable speed control to suit the job (See
Speed Chart, Picture 10) . To select the right speed for the
accessory in use, practice with scrap material first.
The speed of the cordless oscillating tool is controlled by setting
this slide switch on the housing.
PICTURE 10 Speed Chart, see Front Matter.
Addendum below:
Accessory
Sanding surfaces close to edges, in corners
or hard to reach areas.
Depending on the sanding sheet for, e.g.,
sanding wood, paint, varnish, thinset and
MM11
cement.
For detail sanding.
MM70W
For sanding primer and removing brush
strokes, drops of paint and paint run.
MM70P
Smaller cuts and flush cuts.
WOOD
Example: Cut-outs in furniture for cable
MM411
connections.
Application
Accessory
Cutting and deep flush cuts; also for sawing
close to edges, in corners and hard to reach
areas.
MM470
Example: Flush cutting door jamb or window
sill, for flooring or tile installation.
Smaller cuts and plunge cuts.
Example: Sawing off water pipes (copper)
or cable ducts flush against walls, floors
MM422
or ceilings.
Cutting in existing trim or flooring. Cutting
close to edges in corners or hard to reach
WOOD
areas. Examples: Installing floor vent or
MM450
repairing damaged wood flooring.
Removing grout from between wall or floor
tiles.
Example: Removing grout joints between
wall tiles for repair work.
MM500/MM501
Remove vinyl flooring and bonded carpeting.
Example: On stairs/steps or other small/
medium sized surfaces.
Scraping off old coats of varnish/paint or
MM600
other adhesive.
Removing caulk, coats of peeling paint or
soft adhesive.
MM610
Removing thinset or cement.
Example: Grinding away thinset after tile
removal. Removing paint or oil stains from
MM900
cement.
PICTURE 7
A . Battery level indicator
B . Variable speed slide switch
Switch Setting
10
–
6
–
2
–
Battery level indicator
This tool is equipped with a battery level indicator that tells
you how much charge your battery has. A fully charged battery
is indicated when all three LED lights are illuminated. As the
battery discharges, the lights will turn off one by one until only
one light is on. When the last light starts "flashing", the battery
is almost empty.
When the battery becomes close to empty, the tool may shut
down automatically more frequent than normal. If this happens,
it is time to recharge the battery.
12
Application
Speed Range/min (OPM)
18 000 – 21 000
13 000 – 16 000
10 000 – 13 000
7 000 – 10 000
5 000 – 7 000
3 000 – 5 000
