DRIFT HD Manuale d'uso - Pagina 7
Sfoglia online o scarica il pdf Manuale d'uso per Telecamere d'azione DRIFT HD. DRIFT HD 17.
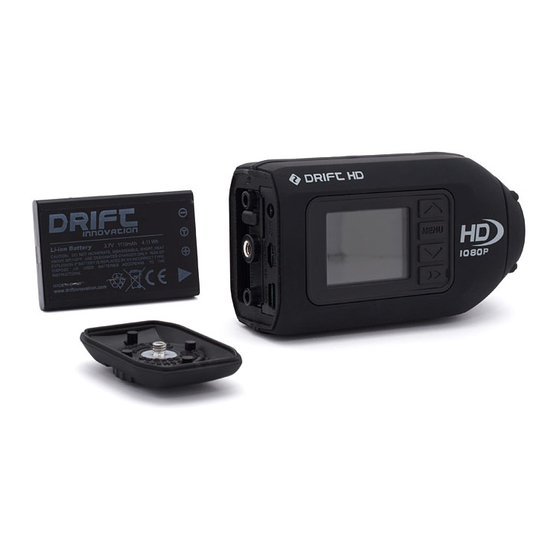
Anche per DRIFT HD: Manuale d'uso (19 pagine)
preparing for use
D) usinG The MiCRo sD CaRD
The Drift HD can take micro SD or SDHC cards of up to 32GB in size.
inserting and Removing the Micro sD Card
1. Turn the camera off.
2. Unscrew and remove the rear hatch (anti-clockwise movement).
3. Insert the Micro SD card into the memory card slot, as shown. Carefully push it all
the way in until it clicks into place.
5. Replace the rear hatch of the camera and tighten the screw (clockwise movement)
back to its original position.
4. To remove the SD card if needed, push the card until it clicks and then pull the card
out.
Note: The Drift HD cannot record any video or photo files without a memory card.
Formatting the Micro SD Card
It is possible to delete all the data on a memory card by formatting it. When using a
new memory card for the first time, formatting is recommended.
1. Press the MENU button to open the Main Menu.
2. Highlight the Setup icon and press the SELECT button.
3. Highlight the Format option on the Setup Menu and press the SELECT button.
4. Confirm that you want to format the card by highlighting the tick icon and pressing
SELECT button. The formatting process will take several seconds. Please be patient
during this process.
Note: Formatting the Micro SD card does not delete your custom preferences, such as
resolution, menu language, FPS or screen brightness.
Note: The recording times in the table below are an approximation. Actual recording
times for Micro SD cards will vary depending on the recording conditions.
Approximate Recording Time
1080p HD
720p HD
1 GB
11 mins
24 mins
2 GB
22 mins
49 mins
4 GB
44 mins
1h 38 mins
8 GB
1h 24 mins
3h 15 mins
16 GB
2h 55 mins
6h 30 mins
32 GB
5h 51 mins
13h 00 mins
! Ensure that the camera is powered off
when inserting and removing a memory
WVGA (SD)
card. The card and the data may be
42 mins
damaged if inserted or removed while
the camera is turned on.
1h 24 mins
2h 48 mins
! Once the card is formatted, this cannot
be undone. Ensure any files you wish
5h 36 mins
to keep have been copied onto your
11h 11 mins
computer, as all data on the SD card will
22h 22 mins
be lost once formatted.
e) ReaR haTChes
The Drift HD comes with two different hatches, for distinct purposes:
Regular Rear hatch
The regular Rear Hatch is used most when no cables are connected to the camera. As
this hatch makes the camera water-resistant, we advise you to use this model of hatch
when the camera will be exposed to water splashes or employing the waterproof case.
Connector hatch
The Connector Hatch must be only used when the camera will be connected to an
external audio input or an external power source. When using this hatch, the camera is no
longer water resistant, and any contact with water must be avoided. The two openings in
the hatch are designed for the USB cable and the mono audio input cable (2.5mm).
F) RePlaCinG The lens
In order to follow the procedure below, you must have a Drift Replacement Lens Kit in
hands (not included).
1. Using the hex key, gently remove the four screws that hold the lens glass protector.
2. Remove the black frame that holds the lens.
3. Remove the old lens from the frame, including the washer.
4. Taking the new pieces of the kit, insert the lens on the frame, and the washer just
behind the lens.
5. Position the frame on its original place, and gently tighten the screws.
Note: For more details on where to purchase a Drift HD Lens Replacement Kit, please
visit www.driftinnovation.com.
13
Rear Hatch
Connector Hatch
Lens Replacement Kit
14