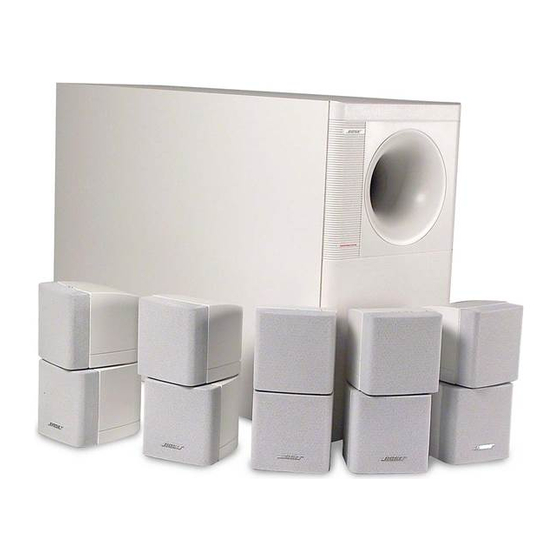
Bose Acoustimass 10 Series I Manuale - Pagina 5
Sfoglia online o scarica il pdf Manuale per Altoparlanti Bose Acoustimass 10 Series I. Bose Acoustimass 10 Series I 17. Series 2
Anche per Bose Acoustimass 10 Series I: Manuale d'uso (18 pagine), Manuale d'uso (25 pagine), Manuale d'uso (17 pagine)
DISASSEMBLY/ASSEMBLY PROCEDURES
BASS MODULE
Note: Numbers in parentheses correspond
to the item call outs in Figure 2.
1. Terminal Cup Removal
1.1 Remove the eight screws (6) that
secure the terminal cup (5) to the bass
module.
1.2 Lift up on the terminal cup at the end
where the input connections are located.
Disconnect the two cables from the PCB
(2).
1.3 Lift the terminal cup out of the bass
box in the direction of the input connectors.
2. Terminal Cup Replacement
2.1 Lower the terminal cup (5) into the
bass box so that the PCB (2) enters first.
2.2 Replace the two connectors that attach
to the PCB (2). The wire color sequence
label next to the connector should match
the wires on the cable.
2.3 Replace the eight screws (6) that
secure the terminal cup to the bass mod-
ule.
3. Crossover PCB Removal
3.1 Perform procedure 1 first.
3.2 Remove the three screws (1) that
secure the PCB (2) to the terminal cup (5).
3.3 Lift the PCB straight up. It might be
necessary to slightly wiggle the PCB back
and forth.
4. Crossover PCB Replacement
4.1 Place the PCB (2) onto the terminal
cup (5) so that the lamps overhang the
output terminal end. Make certain that the
20 pins on the terminal cup line up with the
PCB. Press the PCB and the terminal cup
together.
4.2 To prevent buzzes, make certain that
the lamps are not touching one another.
4.3 Replace the three screws (1) that
secure the PCB to the terminal cup.
5. Woofer Removal
5.1 Perform procedure 1 first.
5.2 Remove the four screws (6) that
secure the woofer (3) to the baffle.
5.3 Lift the woofer out and cut the wires on
both sides of the baffle as close as possible
to the baffle.
Note: Do not cut the wires going to the
surround woofer.
6. Woofer Replacement
6.1 Drill a hole in the baffle, close to the
hole where the woofer wires are fed
through the baffle.
6.2 Insert the new wire harness (part
number 187097) into the hole and connect
it to the woofers (3). Apply Mortite to the
hole in the baffle to prevent air leaks
around the new wire harness hole.
6.3 Replace the four screws (6) that
secure the woofer to the baffle.
6.4 Perform procedure 2.
5