Bose FreeSpace 32SE Manuale di servizio - Pagina 4
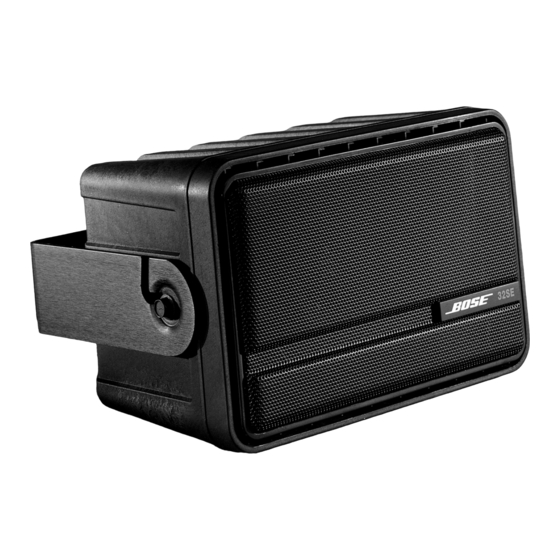
Sfoglia online o scarica il pdf Manuale di servizio per Altoparlanti Bose FreeSpace 32SE. Bose FreeSpace 32SE 12. Surface-mount environmental loudspeaker
Anche per Bose FreeSpace 32SE: Manuale dell'installatore (11 pagine)
DISASSEMBLY/ASSEMBLY PROCEDURES
Note: Refer to Figures 2 & 3 for the follow-
ing procedures.
1. Grille Removal
1.1 Take a small flat-blade screwdriver or
scribe and grasp the edge of the grille (2)
at one of the corners.
1.2 Gently work the grille out of the retaining
slot in the baffle (5).
Note: There is no grille frame exposed.
You must grasp the grille on the metal
portion of the grille and not on the polypro-
pylene, which is part of the cabinet/baffle
assembly.
2. Grille Replacement
2.1 Make sure that the Bose
nameplate (1) is facing the same way as
the print on the back of the cabinet (6).
2.2 Fit the grille (2) to two adjacent corners
of the baffle (5).
2.3 Gently apply pressure to the two
remaining corners to fit the grille into the
baffle.
3. Driver Removal
3.1 Perform procedure 1.
3.2 Using a phillips-head screwdriver,
remove the three screws (3) that hold the
driver (4) in place.
3.3 Carefully lift the driver out of the baffle
(5). Make a note of the driver wiring and cut
the wires as close to the driver terminals as
possible.
4. Driver Replacement
4.1 Strip the wires and, observing polarity,
solder them to the replacement driver (4).
Refer to the wiring diagram made in
step 3.3.
5. Baffle Removal
®
logo on the
6. Baffle Replacement
4
4.2 Align the driver to the baffle (5). Make
sure the gasket is correctly positioned
behind the driver to provide an airtight seal.
4.3 Secure the driver to the baffle using the
three screws (3) removed in step 3.2.
4.4 Perform procedure 2.
5.1 Perform procedure 1.
5.2 Remove the six screws (3) that hold
the baffle (5) in place. Do not remove the
three screws holding the driver (4) in place.
5.3 Pull the baffle away from the cabinet (6).
This can be accomplished by inserting the
hook portion of a scribe or your fingers into
the ports and using this as a grasping area
to pull the two sections apart.
Note: If you are unable to separate the two
sections using the method above, remove
the driver using procedure 3 and gently but
firmly pull the baffle away from the cabinet.
5.4 Remove all of the sealing material from
around the baffle.
6.1 Align the port side of the baffle to the
left side of the cabinet (6) when facing the
front of the cabinet. Slide the baffle into the
cabinet. Perform procedure 4 if necessary.
6.2 Secure the baffle in place using the six
screws (3) removed in step 5.1. Be sure to
remove any excess sealant that may come
up from around the baffle.
6.3 Perform procedure 2.