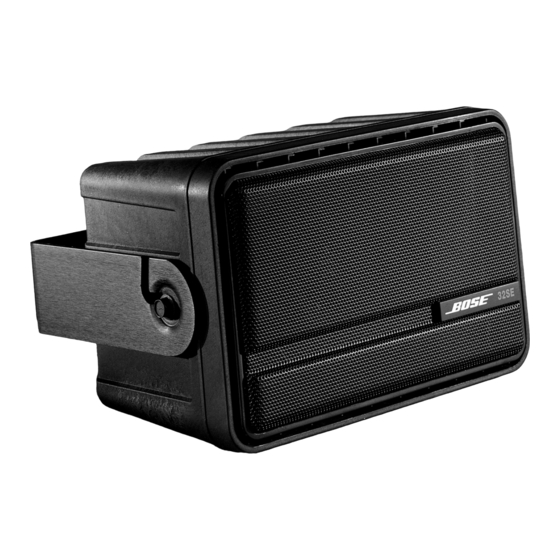
Bose FreeSpace 32SE Manuale di servizio - Pagina 5
Sfoglia online o scarica il pdf Manuale di servizio per Altoparlanti Bose FreeSpace 32SE. Bose FreeSpace 32SE 12. Surface-mount environmental loudspeaker
Anche per Bose FreeSpace 32SE: Manuale dell'installatore (11 pagine)

DISASSEMBLY/ASSEMBLY PROCEDURES
7. Crossover Assembly Removal
(passive variation)
7.1 Perform procedure 5.
7.2 Make a note of the wiring and cut the
wires as close to the crossover assembly
terminals as possible.
7.3 Remove the two screws (14) that
secure the crossover assembly (15) to the
baffle (5).
8. Crossover Assembly Replacement
(passive variation)
8.1 Align the crossover assembly (15) to
the baffle (5) and secure it using the two
screws (14) removed in step 7.3.
8.2 Using the wiring diagram from step 7.2,
solder the wires to the crossover assembly
terminals. See Figure 3.
8.3 Perform procedure 6.
Note: Refer to Figure 3 for the following
procedures.
9. Terminal Strip Removal
(passive variation)
9.1 Using a phillips-head screwdriver,
remove the two screws (14) that secure
the terminal strip (13) to the rear of the
cabinet (6).
9.2 Gently pull the terminal strip away from
the cabinet and cut the wires as close to
the terminals as possible.
10. Terminal Strip Replacement
(passive variation)
10.1 Strip the two wires leading from the
driver (4) and crossover assembly (15).
10.2 Observing polarity, solder the wires
onto the rear of the terminal strip (13).
10.3 Secure the terminal strip to the rear of
the cabinet (6) using the two screws (14)
removed in step 9.1. Make sure the gasket
is aligned properly to provide an airtight
seal.
Note: Refer to Figure 2 for the following
procedures.
11. Transformer Removal
(70/100V variation)
11.1 Perform procedure 5.
11.2 Using a phillips-head screwdriver,
loosen the two screws (3) that secure
the junction box cover (10) to the rear of
the cabinet (6). Slide the keyhole slots in
the cover over the screw heads and re-
move the cover.
11.3 Using a phillips-head screwdriver,
remove the two screws (11) that secure
the transformer (12) to the cabinet.
11.4 Lift the transformer out of the cabinet.
11.5 Make a note of the driver wiring from
the transformer and cut the wires on the
driver (4) as close to the terminals as
possible.
12. Transformer Replacement
(70/100V variation)
12.1 Using the driver wiring diagram from
step 11.5, solder the wires from the trans-
former (12) to the driver (4) terminals.
12.2 Align the transformer with the rear of
the cabinet (6) and secure it in place using
the two screws (11) removed in step 11.3.
12.3 Align the junction box cover (10) with
the rear of the cabinet (6). Secure it in
place using the two screws (3) loosened in
step 11.2.
12.4 Perform procedure 6.
5
