Becom Argos3D-Pulse Manuale di avvio rapido - Pagina 6
Sfoglia online o scarica il pdf Manuale di avvio rapido per Accessories Becom Argos3D-Pulse. Becom Argos3D-Pulse 11.
Quick Start Guide - Argos3D-Pulse
Last change: 1 October 2021/Version 2
Note
Please follow the next steps in the right order to get your 'Argos3D-Pulse' up and running
correctly.
1.3.1
Connecting the break-out board
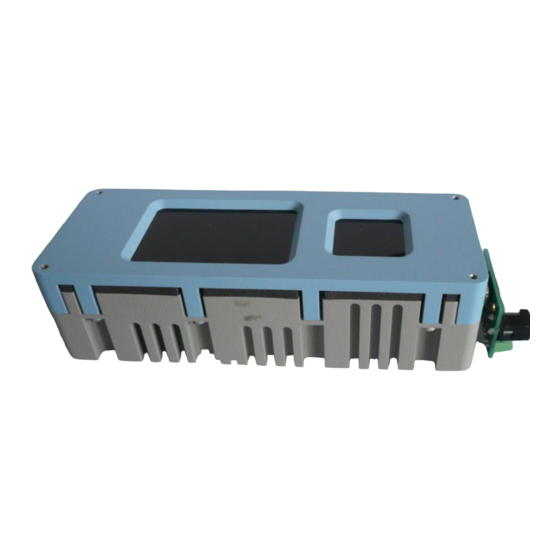
Please connect the break-out board to the Argos3D-Pulse common connector first.
1.3.2
Connecting the power supply
To ensure, that your Argos3D-Pulse works correctly, connect the 'Argos3D' to a 12-30V DC power supply using
connector (a) and wait for approximately 20 seconds until the camera boots up.
Pin assignment on the power connector (a): Pin #1: +12V to +30V, Pin#2: GND
Note
The power supply connector is protected against wrong polarity but the 'Argos3D' will not
work in case you don't use the correct polarity! If the Argos3D-Pulse doesn't work please
check the power supply polarity first!
© BECOM Systems 2021
Argos3D-Pulse
Figure 1-2:
common connector
6 | 11