DUERR Duerr 248-622-003 Manuale - Pagina 6
Sfoglia online o scarica il pdf Manuale per Spaccalegna DUERR Duerr 248-622-003. DUERR Duerr 248-622-003 16. Vertical log splitters
Anche per DUERR Duerr 248-622-003: Manuale di istruzioni (17 pagine)

I
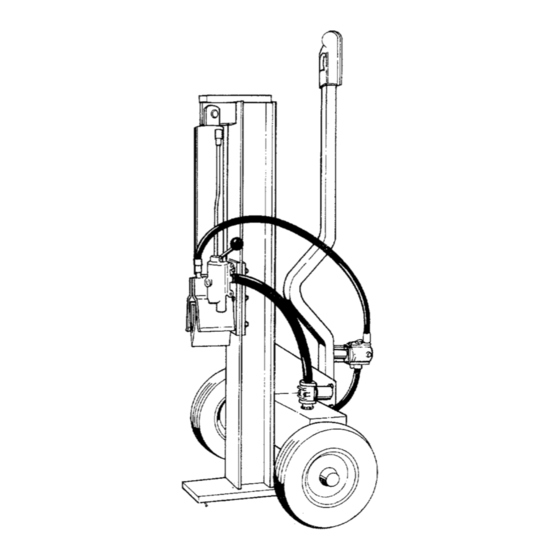
FIGURE 3
Beam
Pivot Pin
Hydraulic
Filter _
Head
Hydraulic Filter
FIGURE 4
Hex Bolts
Hex Nuts
ATTACHING THE FENDERS (Model 424/LCD/20)
1.
Remove the hex nuts, lock washers, flat washers
and hex bolts from the fender support brackets.
2.
Place the fenders in position against the fender
support brackets. Insert hex bolts through holes
in support brackets and fenders. Secure with flat
washers, lock washers and hex nuts. See figure
-
3. Tighten securely.
INSTALLING THE HYDRAULIC FILTER
(If not already assembled)
If the hydraulic filter head and hydraulic filter have
not already been installed on the reservoir tank at
the factory, proceed as follows.
1.
Place Loc-tite hydraulic sealer or equivalent on
the threads on the fitting on top of the
reservoir tank.
Thread hydraulic filter head onto fitting on top
of the reservoir tank as shown in figure 4, in¬
set. The direction arrow on the filter head must
point down toward the tank. Filter head must
be positioned as shown.
Oil the gasket on the top of the hydraulic filter
using automatic transmission fluid. Thread the
hydraulic filter onto the hydraulic filter head as
shown in figure 4. Tighten by hand.
ATTACHING THE WEDGE AND BEAM ASSEMBLY
The beam has been shipped with the wedge
down against the end plate, and tightened in this
position. Stand the beam upright, making
certain the wedge is down against the end of
the beam.
A
WARNING
2
.
3.
Do not attempt to stand beam upright
if the wedge is not against the end of
the beam, to avoid personal injury.
(Move wedge so it is against end of
beam).
Remove the pivot pin from the bracket on the
beam by removing the cotter pin. See figure 4.
Roll the reservoir tank in position against the
beam. Secure beam to tank using pivot pin and
cotter pin just removed.
ATTACHING TONGUE TO RESERVOIR TANK
1.
The tongue is shipped with the jack stand
already attached to the tongue. The jack stand
is in the transport position. Remove the spring
pin and clevis pin. Pivot the jack stand to the
_
operating position and replace the clevis pin and
spring pin. See figure 5.
2.
Remove the two hex bolts, lock washers and he.
nuts on the front of the reservoir tank. Place the
tongue in position and secure with hardware
just removed. See figure 4.
6
