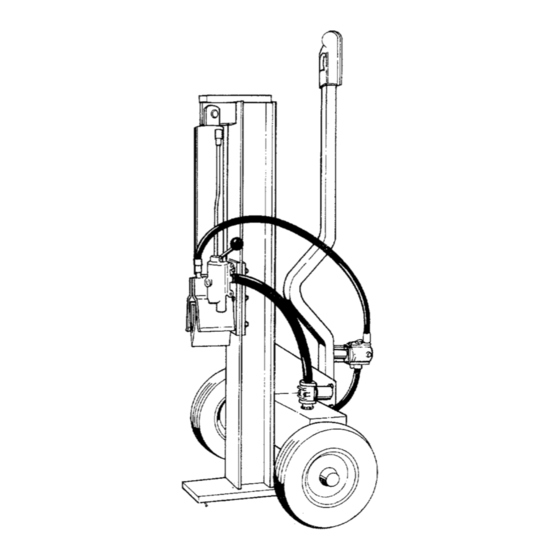
DUERR Duerr 248-622-003 Manuale - Pagina 7
Sfoglia online o scarica il pdf Manuale per Spaccalegna DUERR Duerr 248-622-003. DUERR Duerr 248-622-003 16. Vertical log splitters
Anche per DUERR Duerr 248-622-003: Manuale di istruzioni (17 pagine)

FIGURE 6
INSTALLING THE HITCH
1.
Remove the two long hex bolts, lock washers
and hex nuts which are assembled through the
sides of the hitch. Do not remove the chain and
spacer from the one hex bolt.
2,
Place the hitch in position on the end of the
tongue. Secure with hardware just removed. See
figure 5.
INSTALLATION OF PIVOT LATCH
1.
Remove the two hex bolts, lock washers and
hex nuts on the pivot latch.
2.
With the beam still in the upright position, place
the pivot latch on the beam as shown in figure
6. Secure with hex bolts, lock washers and hex
nuts just removed. The heads of the bolts must
be inside the pivot latch.
Hex Bolts
Lock Washers
FIGURE 7
ATTACHING THE ENGINE AND PUMP ASSEMBLY
1.
Remove the four hex bolts, lock washers and
hex nuts from the engine mounting bracket
(attached to the reservoir tank).
2.
Place the engine and pump assembly in position
as shown in figure 7. Secure with hardware just
removed.
Tighten securely.
ATTACHING THE SUCTION HOSE
1.
The suction hose is 3/4" by 20" long. Loosen
the hose clamps on each end of the hose
using a screwdriver.
2.
Attach one end of the hose to the fitting on the
bottom of the pump. Attach the other end to
the reservoir tank. See figure 7.
3.
Place hose clamps at the base of the fittings,
and
tighten securely.
ADJUSTING THE SPLITTING WEDGE
The adjustment bolts on the splitting wedge were
tightened at the factory to hold the wedge in a sta¬
tionary position for shipping. Adjust these bolts as
follows. See figure 8.
1.
Loosen the three hex bolts on top of the slide
plate (beneath the splitting wedge).
2.
Back the two adjustment bolts on the side of the
slide plate out
slowly
until the wedge assembly
will slide on the beam. Tighten the lock nuts
securely against the base of the slide plate to
hold the bolts in this position.
3.
Retighten the three hex bolts on top of the slide
plate.
FIGURE 8
7
