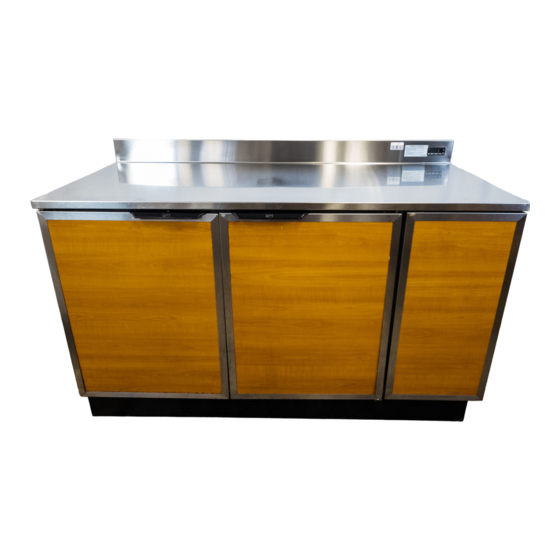
Duke RBC 60 Manuale di servizio - Pagina 4
Sfoglia online o scarica il pdf Manuale di servizio per Frigorifero Duke RBC 60. Duke RBC 60 16. 48/60 inch refrigerated back counter digital
Anche per Duke RBC 60: Manuale di installazione e funzionamento (8 pagine)

Service Manual for Refrigerated Back Counter RBC 48/60
SPECIFICATIONS
MODEL
DESCRIPTION
RBC 48
48" Refrigerated 120 VAC (60 Hz)
Back Counter
RBC 60
60" Refrigerated 120 VAC (60 Hz)
Back Counter
MODEL
DESCRIPTION
RBC 48
48" Refrigerated 40.00 In.
Back Counter
RBC 60
60" Refrigerated 40.00 In.
Back Counter
INSTALLATION
Location
Units represented in this manual are intended for
indoor use only. Be sure the location chosen has a
floor or counter strong enough to support the total
weight of the units. Reinforce the floor or counter
if necessary to provide for maximum loading. For
the most efficient operation, be sure to provide
good air circulation inside and out. These units
should be located so that they can be moved for
service. Major service to the refrigeration system
is done from the end of the cabinet.
The outline dimensional drawings for the units are
shown below in Figures 1 and 2.
Figure 1
48" Refrigerated Back Counter (RBC 48)
4
INTROUCTION
VOLTAGE
AMPS
10
220 VAC (50 Hz)
5
12
220 VAC (50 Hz)
6
HEIGHT
WIDTH
LENGTH
29.50 In.
48.00 In.
29.50 In.
60.00 In.
PH.
1
1
1
1
60" Refrigerated Back Counter (RBC 60)
Inside Unit
Take care not to block air flow to the fans and allow
space along the front, back and sides.
Outside Unit
Be sure that the unit has access to ample air; avoid
hot corners and locations near stoves and ovens.
CAUTION: This unit exhausts air to the
Leveling
Be sure that the units are placed on a firm, flat
surface/floor. Check for cracks in flooring or tile
and avoid these areas if possible. If necessary
place support pads, properly rated for the weight
of the unit, to "bridge" uneven or cracked flooring.
Level unit accordingly.
Stabilizing
Use the leg adjustments to insure that the unit is
solid to the floor surface at all four contact points.
Insure that the unit does not "rock" when pressure
is applied to the top corners.
Figure 2
bottom and the back. Do not
seal the unit to the wall or set
unit on a curb. The ventilation
slots in the kickplate must
remain open.
