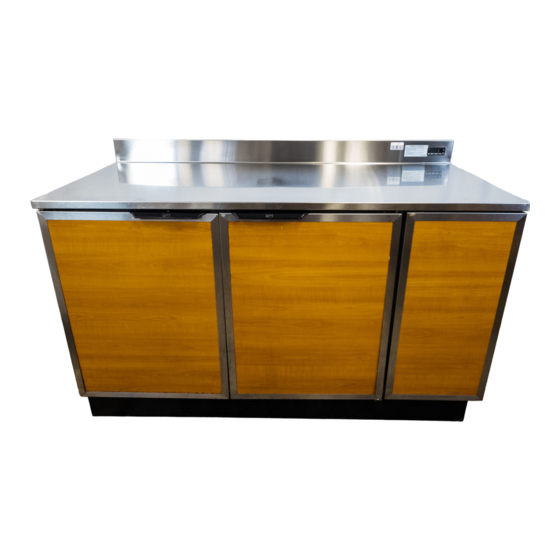
Duke RBC 60 Manuale di servizio - Pagina 8
Sfoglia online o scarica il pdf Manuale di servizio per Frigorifero Duke RBC 60. Duke RBC 60 16. 48/60 inch refrigerated back counter digital
Anche per Duke RBC 60: Manuale di installazione e funzionamento (8 pagine)

Service Manual for Refrigerated Back Counter RBC 48/60
THERMOSTAT REPLACEMENT
The thermostat is located inside the main electrical
control box and is accessible through the right
side door.
1. Disconnect and isolate the refrigerator from
the power source.
2. Remove upper sheet metal shroud behind right
side door to gain full access to control box.
3. Remove the control box from the unit.
4. Remove the thermostat from the control box.
5. Remove interior ductwork from the right, inside
of the unit to gain access to the evaporator fan
assemble.
6. Remove the evaporator fan assembly.
7. Remove the thermostat control cap tube from
the evaporator coil.
8. Remove thermostat from the unit.
9. Install replacement thermostat.
10. Replace the thermostat control cap tube.
11. Replace the evaporator fan assembly.
12. Replace all ductwork, reinstall the thermostat
into the control box and reinstall the control
box.
13. Replace the sheet metal shroud.
14. Reconnect main power source and test
refrigeration unit.
NOTE: Care should be taken not to kink the new
thermostat cap tube.
NOTE: 8" of the end of the thermostat cap tube
must be in the evaporator coil to ensure proper
operation.
8
PARTS REPLACEMENT
EVAPORATOR FANS
The evaporator fans are a part of the main
refrigeration unit.
accessed through the right side of the unit and is
slid out as an assembly from the right side.
1. Disconnect and isolate the refrigerator from
the power source.
2. Remove right rear corner angle strip.
3. Completely remove the right side laminate
panel from its guide way.
4. Remove the inner, right side access panel.
5. Remove the refrigeration unit main mounting
hardware.
6. Slide the entire refrigeration unit out through
the right side as an assembly.
7. Disconnect and label the evaporator fan wiring.
8. Remove the evaporator fan mounting
hardware.
9. Remove the evaporator fan.
10. Install the replacement evaporator fan.
11. Replace evaporator fan mounting hardware.
12. Reconnect the evaporator fan wiring.
13. Slide the refrigeration unit back to original
mounting position.
14. Replace and secure the refrigeration unit main
mounting hardware.
15. Replace side access panel, laminate panel
and right rear corner angel strip.
16. Reconnect main power source and test the
refrigeration unit.
The refrigeration unit is
