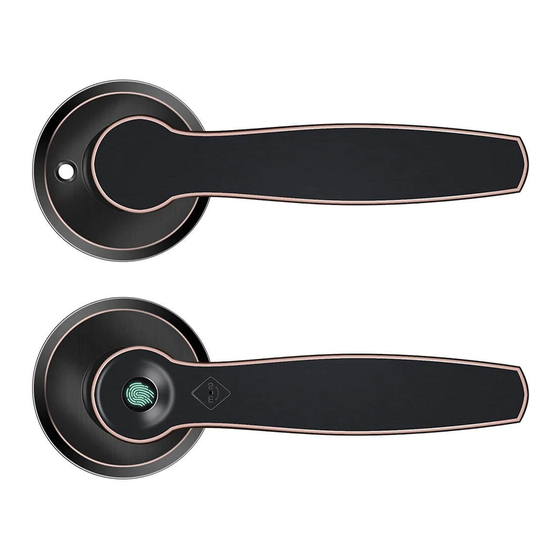
Dato L-B200 Manuale d'uso - Pagina 8
Sfoglia online o scarica il pdf Manuale d'uso per Per serrature Dato L-B200. Dato L-B200 12.

6,Testing the fundamental functions: when the external handle is pressed, the door shall be tightly locked
without the fingerprint input for identification; when any fingerprint is input for identification with further
press to the external handle, the door shall be open successfully( only the recorded fingerprint is allowed
to unlock the door after the fingerprint setting)
7, Finish the installation:insert the rear handle from the other side of the door by aligning the quad slot
with the spindle(remember to put the rubber pad in advance), and tighten and secure with two mounting
screws from two holes in the rear handle into the screw holes of the connecting screws.
Note: A. The two
screws should be screwed as tightly as possible. B. The screw close to the door handle is not easy to
install and additional attention is required.
8,Test after the installation:
a, When the front handle is pressed, the door shall be tightly locked without the fingerprint input for
identification; when any fingerprint is input for identification with further press to the front handle, the door
shall be open successfully( only the recorded fingerprint is allowed to unlock the door after the fingerprint
setting).
NOTE: If you find any fingerprint could be identified after fingerprint setting, which means the fingerprint
record failed, please refer to the instruction book to do fingerprint record again
b,Press the internal handle and the door shall available to open
Lock settings
1,Add fingerprints
Press the setting switch by rotating the mechanical key clockwise about 15-20 degrees, long press or
about 3 seconds until the blue indicator on and release the switch after 1 beep. Press the finger to set at
the center of the fingerprint area, if the data is collected successfully, the blue indicator will flash once and
a beep will be sounded to remind that a fingerprint is acquired; if there is a in-proper input or failure, the
red indicator will flash once and "tick" two times to remind the invalid collection. A total of 5 times are
needed for any single fingerprint collection. The blue indicator is always on and a long beep will be
sounded to indicated the successful fingerprint acquisition. The blue indicator will flash throughout the
fingerprint entry process(to indicated the entry status), but not in multiple colors.
Note:
a, The finger to touch press requires multiple angles to collect, which benefits the expansion of the
database as well as the sensitivity of identifications!
b, If you find any fingerprint could be identified after fingerprint setting, which means the fingerprint record
failed, please refer to the instruction book to do fingerprint record again.
2,Remove fingerprints
Press the setting switch by rotating the mechanical key clockwise about 15-20 degrees, and hold to allow
the the blue indicators to flash for about 5 seconds until the red light indicator on. Release the blue light
immediately after the first beep and all fingerprints will be removed after a long beep.
3, Fingerprint Identification to Unlock
Press the fingerprint, if the fingerprint is verified, the blue indicator will light shortly with 1 beep, and the
motor will be
triggered to open the lock with automatic gyration after 6 seconds; if the fingerprint is not
verified, the red indicator will light shortly for two times with 2 beeps
