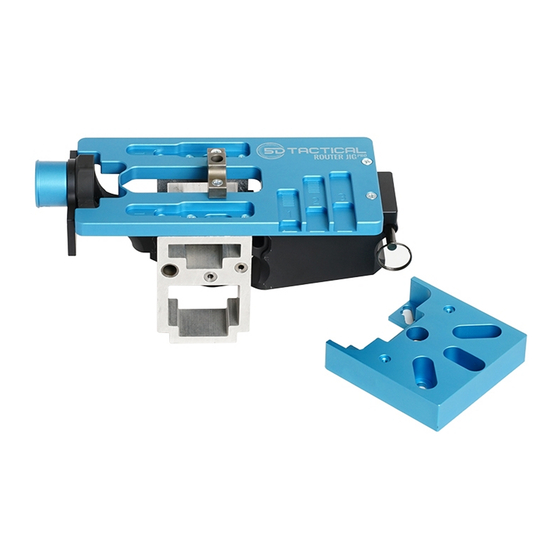
5D TACTICAL Router JigPro Manuale di istruzioni - Pagina 11
Sfoglia online o scarica il pdf Manuale di istruzioni per Strumenti 5D TACTICAL Router JigPro. 5D TACTICAL Router JigPro 13.
Anche per 5D TACTICAL Router JigPro: Manuale di istruzioni (7 pagine)

ROUTER
MODEL
Bosch PR10E
............. 2 ..................A
X
Bosch PR20EV
........... 2 ..................A
X
Bosch 1617EV ............ 3*.................D
Bosch 1617EVS .......... 3*.................D
Craftsman 28212
....... 1 ..................B
Y
Craftsman 2767 .......... 3*.................D
Craftsman 27683 ........ 3*.................D
Craftsman 50429 ........ 3*.................D
DeWalt DWE6000 ....... 2 ..................A
DeWalt DWP611
........ 1 ..................B
Z
DeWalt DW616 ........... 3*.................D
DeWalt DW618 ........... 3*.................D
Hitachi M12VC ............ 3*.................D
Makita RT0701C ......... 2 ..................C
Porter Cable 450 ......... 1 ..................B
Porter Cable 6430 ....... 2 ..................A
Porter Cable 6435 ....... 2 ..................A
Rigid R24012
............. 2 ..................A
X
* Installation Method 3 Requires Full-Size Router
Adapter Plate
X - Pull out router base to attain minimum depth
Y - Requires only 3 Router Adapter Screws
Z - #1 Recommended Router
A1-1
Before proceeding, check that
your router depth lock is fully
functional. If necessary, tighten router depth
lock. On most models, a nut or setscrew can
be tightened to adjust the tension of the depth
lock. If your router depth moves while milling,
damage to the receiver and/or end mill may
occur.
A1-2
Prepare your router for milling
by installing the ReadyMILL™.
Unplug your router. Remove the plastic
baseplate from the router base, and separate
the base from the router. Remove the collet.
Thread on the ReadyMILL™ and tighten using
a wrench. Reinstall the router base.
508-834-4223
5DTACTICAL.COM
INSTALL
READYMILL
METHOD
MODEL
A1-3
Orient the Router Adapter with
the bearing facing toward the
router, and the notch away from the power
cord. Pass the large diameter portion of the
ReadyMILL™ through the bearing to center
the Router Adapter with the Router.
A1-4
Installation Method 1. With the
Adapter flat against router base,
align Router Adapter with 4 screw holes in
router base, loosely install (4) Router Adapter
Screws, then tighten.
A1-5
Installation Method 2. Align
Router Adapter with 2 screw
holes in front of router base, and loosely
install (2) Router Adapter Screws. Loosely
install Router Adapter Side Block to accessory
attachment hole on back of router with (1)
Router Side Block Screw. Use the appropriate
size for your router. Loosely install (1) Router
Adapter Screw into the Side Block through
the Router Adapter. Tighten (2) front Router
Adapter Screws. Press Side Block against
router and tighten (1) Router Side Block Screw.
11
