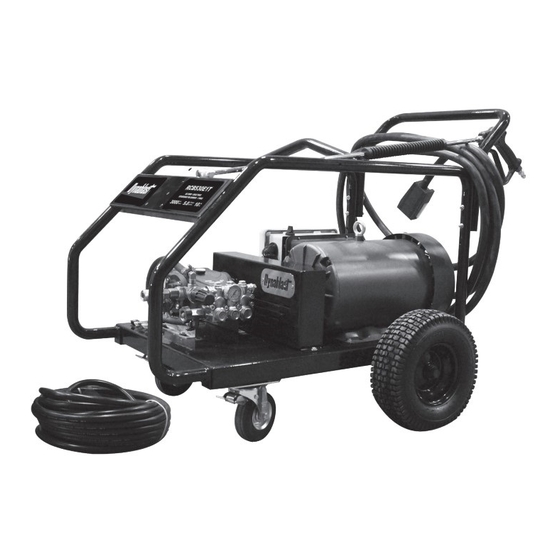
Dynablast CRBG Series Manuale d'uso - Pagina 5
Sfoglia online o scarica il pdf Manuale d'uso per Idropulitrice Dynablast CRBG Series. Dynablast CRBG Series 12.

START UP INSTRUCTIONS
PUMP
1.
Remove the shipping plug on your pump's crankcase
and install the provided plug/ dipstick (yellow).
WARNING: The vented plug/ dipstick must be installed.
By not doing so, may cause personal injury, cause
damage to the pump and void the warranty.
2.
Check your pump oil level using the sight glass
located on the side of the pump. The oil should be
1/2 (half) way up on the sight glass of the dipstick
provided.
ENGINE - GASOLINE MODELS
1.
Add SAE 10W30 Motor Oil to engine to the
indicated appropriate level on your dipstick. (See
Engine Manual for alternative oils.
Note: Your engine is equipped with "Low Oil" shut-off.
If there is not enough oil, the engine will automatically
shut-off. (See Engine Manual)
2.
Use UNLEADED gasoline ONLY
CONNECTIONS
When making any connections, do so with the pressure in
the system relieved, the motor "OFF" and the red safety
latch engaged on the trigger gun.
WARNING: Failure to properly connect the high
pressure hose, wand and spray nozzle can result in
injury.
1.
Connect the wand to the spray gun with at least 8
wraps of TEFLON TAPE on the threads.
2.
All models come with 5 Quick Connect Nozzles (0˚,
15˚, 25˚, 40˚ & Soap). The Soap Nozzle comes
already installed on the dual lance (when replacing
this nozzle, use TEFLON TAPE on the threads). (Model
RCB5050G DOES NOT include QC Nozzles)
RED:
This nozzle produces a high-pressure
pencil-point spray (0˚) ideal for removing
stubborn dirt.
YELLOW:
This nozzle produces a high-pressure flat
spray (15˚) suitable for cleaning concrete,
brick & other porous surfaces.
GREEN:
This nozzle produces a high-pressure flat
spray (25˚) suitable for cleaning painted
surfaces, wood, siding and fences.
WHITE
This nozzle produces a wide, high-
pressure, flat spray (40˚) suitable for
cleaning windows and screens.
BLACK:
This nozzle produces a low-pressure
spray that must be used for application
of detergents.
3.
Before installing one of the desired quick connect
nozzles, follow the instructions below:
When installing or changing any spray nozzle, always do
so with the water turned off at the source, the pressure in
the system relieved, the engine turned "OFF" and the red
safety latch engaged on the spray gun.
Always point the gun/ wand away from you while
connecting or disconnecting the nozzle.
4.
Connect the desired Quick Connect nozzle to the
spray gun by pulling the collar on the socket back,
insert the nozzle and slide the collar back into
place. Pull sharply on the connection to ensure
connection is secure.
Ensure that the connection is securely made.
WARNING: Poorly mounted nozzle can become a
projectile.
5.
Make sure that the red safety latch on the trigger
gun is engaged.
6.
Connect high pressure hose to high pressure quick
connect fitting on pump.
7.
Connect water supply hose to lower inlet of the
pump. Failure to use the inlet strainer could reduce
pump operating efficiency and void warranty.
8.
Turn on water to the maximum level.
STARTING UP
1.
Plug your unit into a receptacle that meets all
electrical codes. Do not modify the plug to fit into
other receptacles. (*ELECTRIC MODELS ONLY*)
DO NOT TURN YOUR MOTOR/ ENGINE ON YET.
2.
Disengage safety latch on gun trigger
3.
Pull trigger on gun to allow the air trapped in the
system to bleed out. A constant flow of water should
flow from the nozzle.
4.
After you see a constant flow of water from the
nozzle, then release the trigger.
5.
Engage red safety latch on the trigger gun.
6.
Turn on your motor (*ELECTRIC MODELS ONLY*)
7.
Starting the Engine with Recoil Start
• Turn switch to "ON" position.
• Turn fuel knob to "On" position.
• Put engine throttle to full RPMs (maximum) for
proper pump performance.
• Turn on choke.
• Pull engine's starter until running.
• Turn off choke.
Starting the Engine with Electric Start
• Install battery as shown in engine manual
(Battery not included).
• Turn switch to "ON" position.
• Put engine throttle to 3/4 RPMs open.
• Turn on choke.
• Turn and hold key switch in the "START" position
until running.
• Once engine has started, release the key and
turn choke off.
5
