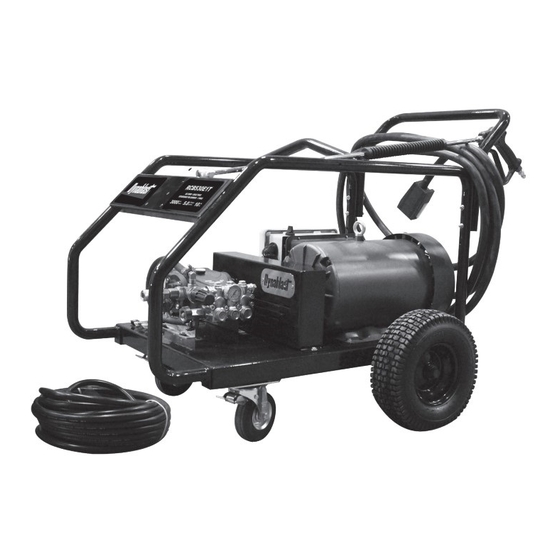
Dynablast CRBG Series Manuale d'uso - Pagina 6
Sfoglia online o scarica il pdf Manuale d'uso per Idropulitrice Dynablast CRBG Series. Dynablast CRBG Series 12.

OPERATION & WORKING WITH DETERGENTS
PRESSURE WASHING
1.
To
begin spraying and high pressure washing,
disengage the safety latch on the gun and trigger
the gun. Hold gun and lance firmly.
WARNING: To avoid injury, always engage the red
safety latch located on the spray gun when not in use
or when not spraying.
2.
The spray pattern of the high pressure spray can be
changed by selecting another quick connect nozzle.
3.
To change quick connect nozzle selection, follow the
instructions below ( Not applicable to RCB5050G ):
When installing or changing any spray nozzle, always do
so with the water turned off at the source, the pressure in
the system relieved, the engine turned "OFF" and the red
safety latch engaged on the spray gun.
Always point the gun/ wand away from you while
connecting or disconnecting the nozzle.
4.
You are now ready to change the nozzle.
• To change the quick connect nozzle, remove
existing spray nozzle by pulling the socket back
and taking the nozzle out. Connect the desired
nozzle to the spray gun by pulling back the
collar on the socket, insert desired nozzle and
slide collar back into place. Pull sharply on the
connection to ensure it is secure.
WARNING: Poorly mounted nozzle can become a
projectile.
5.
Your machine is equipped with a variable unloader
valve; after starting your machine, you may adjust the
pressure via the unloader knob. Increase pressure by
turning the knob in a CLOCKWISE direction. Decrease
the pressure by turning the knob in a COUNTER
CLOCKWISE direction.
WARNING: The unloader valve is factory preset for
safe operation. Do not attempt to change or block
the valve for higher pressure. This can cause serious
personal injury or serious damage to the unit.
ADDING DETERGENTS
1.
Stop spraying
2.
Turn motor switch to "OFF" position
3.
Relieve the pressure in the system by triggering the
gun.
4.
Engage safety latch on the trigger gun.
5.
Insert chemical suction hose into detergent.
6.
For models with dual lance:
• Point the lance away from you, turn the side
handle of the dual lance in a counter clockwise
rotation. This will enable the detergent to be
drawn up.
For models with single lance:
• Connect the black soap nozzle to the spray gun
by pulling the collar on the socket back. Insert
the nozzle and slide collar back into place. Pull
sharply on the connection to ensure it is secure.
7.
These models are also equipped with a variable
knob (red) that controls the detergent's flow
rate. This knob is located in line with where the
chemical suction hose meets the pump body.
8.
Turn on your motor (*ELECTRIC MODELS ONLY*)
9.
Disengage the safety latch on the trigger gun.
6
10. Pull trigger to start spraying detergent/ water
mixture.
Note: This detergent application reduces the pressure
of the system. This is so that the detergent can be
drawn through the hose.
RINSING AFTER DETERGENT
1.
Stop spraying
2.
Turn off water supply at the source.
3.
Pull the trigger to release any left over pressure in
the system.
4.
Engage red safety latch on the trigger gun.
5.
Take the detergent chemical suction hose out of the
detergent bottle.
6.
For models with dual lance:
• With the dual lance pointed away from you,
turn the black side handle of the dual lance in a
clockwise rotation. This will stop the detergent.
For models with single lance:
• Remove the black quick connect nozzle and
install desired quick connect nozzles as
described in the "CONNECTIONS" section of
this manual.
7.
Turn on your motor (*ELECTRIC MODELS ONLY*)
8.
Disengage red safety latch on trigger gun.
9.
Start spraying.
STOPPING
1.
Stop spraying.
2.
Switch off your engine/motor.
3.
Unplug motor (*ELECTRIC MODELS ONLY*)
4.
Turn off water supply at the source
5.
Pull trigger to release any left over pressure in the
system.
6.
Engage red safety latch on he trigger gun.
7.
Disconnect all hoses and store equipment on the
cart.
