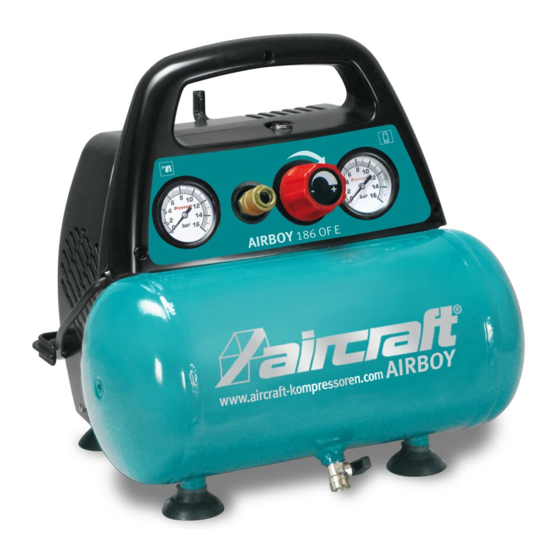
Aircraft AIRBOY 206 OF E Manuale di istruzioni per l'uso - Pagina 11
Sfoglia online o scarica il pdf Manuale di istruzioni per l'uso per Compressore d'aria Aircraft AIRBOY 206 OF E. Aircraft AIRBOY 206 OF E 18. Mobile compressor

7.2 Switch on
Step 1:
Check whether the mains voltage corre-
sponds to the voltage indicated on the name-
plate. Connect the compressor to the power
supply.
Step 2:
Start the device with the On-/Off-Switch. The
compressor remains in operation until the com-
pressed air tank is filled. As soon as the maxi-
mum pressure (8 bar) is reached, the com-
pressor stops automatically. The pressure
value of the air in the tank is displayed on the
manometer. It is normal for the compressor to
stop and restart at certain intervals during use
of the compressed air.
7.3 Adjustment of working pressure
ATTENTION!
The maximum pressure of the connected tool must
not be exceeded.
The working pressure setting must be done with the tool
connected and running in order to be able to set the ac-
tual required working pressure.
When using pneumatic tools, always check the optimum
application pressure of the accessory.
The working pressure is with the pressure regulator (2,
Fig. 3) adjusted and read on the manometer. The com-
pressed air removal takes place via the coupling(8).
It is recommended to bring the pressure back to zero af-
ter using the device by continuing to operate the
connected tool until the pressure has released.
7.4 Switch off
Step 1:
To zero the pressure after using the device,
continue to operate the connected tool until
the pressure has released.
Step 2:
Turn off the compressor with the ON / OFF
switch and disconnect the power plug from
the socket.
Use safety gloves!
Step 2:
Place a container under the condensate drain
valve. Open the condensate drain valve to
drain the pressure vessel.
AIRBOY | Version 1.07
Maintenance, care and servicing/ repair
ATTENTION!
If the condensation is not drained, the tank can cor-
rode. This limits its capacity and compromises
safety.
condensate drain valve.
Fig. 5:
Step 3: Close the condensate drain valve.
8
Maintenance, care and servicing/
repair
8.1 Cleaning
ATTENTION!
- Never use solvents to clean plastic parts or painted
surfaces. A surface release and consequential da-
mage may occur.
Use safety gloves!
NOTE!
Never use harsh detergents for cleaning.This can
lead to damage or destruction of the device .
Step 1: Before performing any cleaning work, switch off
the compressor, disconnect the power plug,
and drain all air from the reservoir.
Step 2: Clean all plastic parts and painted surfaces
with a soft, damp cloth and some neutral deter-
gent.
Always keep the cooling fins clean and free.
6
11
