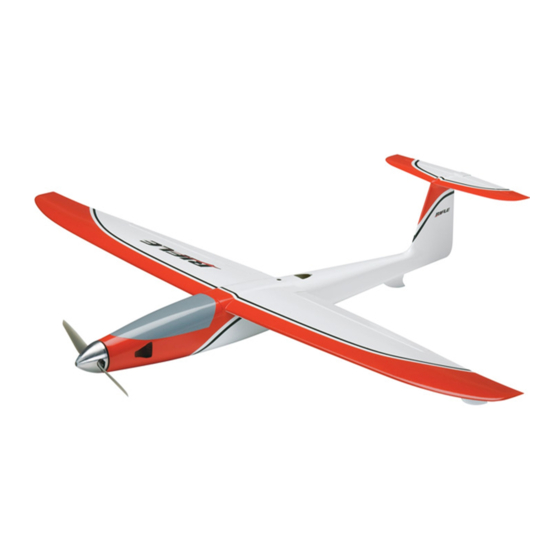
GREAT PLANES Electrifly Rifle Manuale di istruzioni - Pagina 11
Sfoglia online o scarica il pdf Manuale di istruzioni per Giocattolo GREAT PLANES Electrifly Rifle. GREAT PLANES Electrifly Rifle 16.

❏
3. Use medium-grit sandpaper to roughen the exposed
paint between the tape. Hint: Wrap your sandpaper around
a 3/32" [2.4mm] sheet of balsa or something similar.
❏
4. Remove the tape and clean off any residual tape glue.
Note that base of the two wing skids is slightly curved to
match the airfoil shape of the wing while the fuselage skid
is fl at. Glue the wing skids to the bottom of the wing as
shown, starting with just a drop of thin CA. After the thin CA
has hardened, follow with another drop or two of thin CA or
medium CA. Allow to harden.
❏
5. Prepare the bottom of the fuselage the same way
and glue the fuselage skid to the bottom of the fuselage 5"
[130mm] from the end, making certain it is centered.
Apply the Decals
The decals are applied "wet," with window cleaner. This
allows for precise positioning and after you squeegee out
the window cleaner from under the decal there will be no air
bubbles (as there usually are when you apply them dry).
1. Use scissors or a sharp hobby knife to cut each decal
from the sheet.
2. Be certain the model is clean and free from oily fi ngerprints
and dust. Peel the fi rst decal you wish to apply from its
protective backing. Then, spray the back of the decal with
window cleaner.
3. Position the decal where desired and adjust for perfection.
Use a piece of soft balsa or something similar to squeegee
the window cleaner from under the decal. Apply the rest of
the decals the same way.
GET THE MODEL READY TO FLY
Set the Control Throws
To ensure a successful fi rst fl ight, set up the Rifl e according
to the control throws specifi ed. The throws have been
determined through fl ight testing and record-keeping to
give the pilot enough control to quickly change directions
while at the same time not over controlling. If, after you
have become accustomed to the way the Rifl e fl ies, you
would like to change the throws to suit your taste, that
is fi ne. However, too much control throw could make the
model too responsive and diffi cult to control, so remember,
"more is not always better."
Measure the high rate elevator throw fi rst...
❏
1. Turn on the transmitter, install and connect the motor
battery, plug in the aileron servo, and mount the wing.
❏
2. Holding a ruler vertically against the trailing edge of
the middle of the elevator (the widest part), measure and
11
