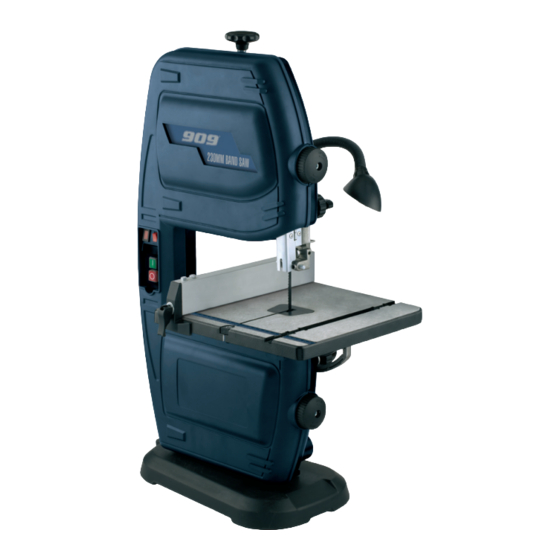
909 BS9 Manuale di istruzioni - Pagina 10
Sfoglia online o scarica il pdf Manuale di istruzioni per Sega 909 BS9. 909 BS9 16. 230mm (9") band saw

Upper guide pin adjustment
1. To adjust the guide pins loosen the 2 screws that hold the
guide pins in place using the 3mm hex key supplied.
2. Press the guide pins together against the band saw
blade.
3. Turn the band saw wheel by hand in a clockwise direction
several times to bring the guide pins into the correct
position. Both guide pins should just touch the saw blade.
4. Tighten the guide pin locking screws.
CAUTION:
Ensure the blade is not pinched by rotating the
band saw wheel one or two times by hand.
Lower blade guide adjustment
WARNING.
Always ensure that the saw is switched
off and unplugged from the power supply before making
any adjustments.
1. The lower blade guide adjustments consist of a thrust
bearing that supports the band saw blade from the rear
and two guide pins that provide lateral support. These
need to be readjusted after every band saw blade change
or tracking adjustment.
2. The work table needs to be tilted 45° and the door needs
to be open before the thrust bearing locking screw and
guide pins can be adjusted. This helps give better access
to the adjustment screws.
Thrust bearing adjustment
1. To adjust the thrust bearing loosen the thrust bearing
locking screw using the 3mm hex key supplied. It is
easier to access the thrust bearing screw if the work table
is placed on a 45° angle.
2. Adjust the thrust bearing
position until it is 0.5mm away
from the band saw blade.
When the band saw blade
is turned by hand it should
not make contact with the
thrust bearing.
3. Tighten the thrust bearing
locking screw.
Lower guide pin adjustment
1. With the table set to 90° adjust the guide pins by
loosening the 2 screws that hold the guide pins in place
using the 3mm hex key supplied. The lower housing door
needs to be opened to access the screws.
2. Press the guide pins together
against the band saw blade.
3. Turn the band saw wheel by
hand in a clockwise direction
several times to bring the
guide pins into the correct
position. Both guide pins
should just touch the saw
blade.
4. Tighten the guide pin locking screws.
CAUTION:
Ensure the blade is not pinched by rotating the
band saw wheel one or two times by hand.
10
