909 50620 Manuale d'uso - Pagina 10
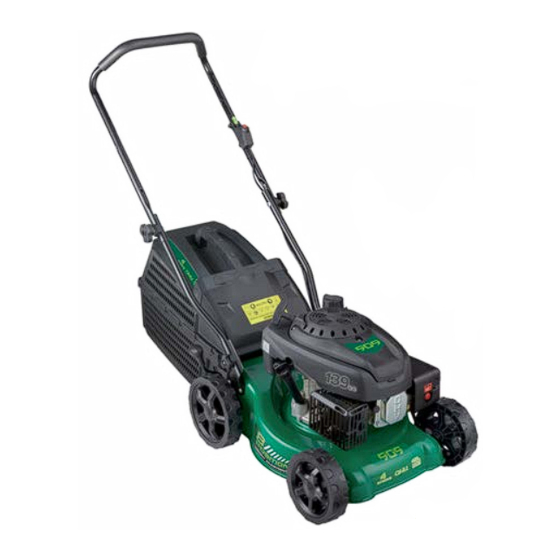
Sfoglia online o scarica il pdf Manuale d'uso per Tagliaerba 909 50620. 909 50620 19. 139cc 4 stroke petrol lawn mower
Assembly
Attaching the 45L Hard Catcher
WARNING. Ensure the motor is off and not operating when
undertaking this task.
1. Lift the rear discharge guard (10) in order to
position the catcher. (Fig H)
NOTE: DO NOT ever start the mower if the rear
discharge guard (10) does not fully return to the
close position if the catcher is not fitted.
2. Align the square locating holes of the hard
catcher (7), 1 on the right and 1 on the left of the
catcher, with the catcher attachment brackets (11)
extending out from each side at the rear of the
mower, directly under the handle assembly point.
Push the 45L hard catcher (7) downward so
the catcher attachment brackets (11) protrude
through the square holes of the catcher. (Fig I)
3. Release the rear discharge guard (10) to secure
the catcher in place. (Fig J)
NOTE: Always empty the 45L hard catcher
(7) before it has reached maximum capacity,
otherwise it will decrease the performance of
the mower.
TIP: Do not leave clippings in the catcher for
extended periods.
NOTE: If you are unsure of which cutting height
to use, begin with a high setting and trial a small
section of lawn, then check the appearance of
the lawn. Then readjust if necessary.
16
e-mail: [email protected]
MODEL: №. 50620
139cc 4 Stroke Petrol Lawn Mower
H.
I.
J.
AFTER SALES SUPPORT
1800 909 909
(toll free)
139cc 4 Stroke Petrol Lawn Mower
Cutting Height Adjustment
WARNING: Stop the engine and unplug
the spark plug before any repairs or
maintenance operations.
This mower has one lever to easily adjust the
cutting height. There are 8 height settings,
from 25-70mm.
1. Stop the engine of the lawn mower before
making a height adjustment. To increase the
cutting height pull the 8 height adjustment lever (12) out and move it up
a notch, towards the handlebar. (Fig K)
2. To decrease the cutting height pull the 8 height adjustment lever (12) out
and move it down a notch, towards the engine. (Fig K)
3. After adjustment, ensure the lever is fully
located in the selected notch.
AFTER SALES SUPPORT
1800 909 909
(toll free)
Cutting Height Adjustment
K.
RAISE
LOWER
17
e-mail: [email protected]
MODEL: №. 50620